Your cart is currently empty!
How to Draw a Tui Bird – Step by Step Guide for Beginners.
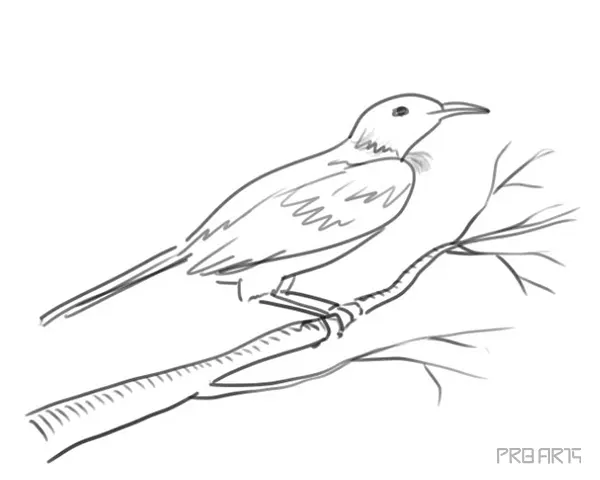

How to Draw a Tui Bird
Learn how to draw a Tui Bird sketch – step by step tutorial guide.
What You Will Need
- An A4 size plain white paper.
- A pencil.
- An eraser.
As shown in the image above, mark the four corners vary slightly. You will erase these marks at the end of the drawing.
For this tutorial drawing guide, the Tui Bird is rectangle in shape. So I’m marking again four corners inside the composition area.
If you have a piece of rectangle paper then it will fine.
You should compose your Tui Bird drawing art in this area only.
It is always a good practice, drawing within the composing area.
How to Draw a Tui Bird – Skeleton.
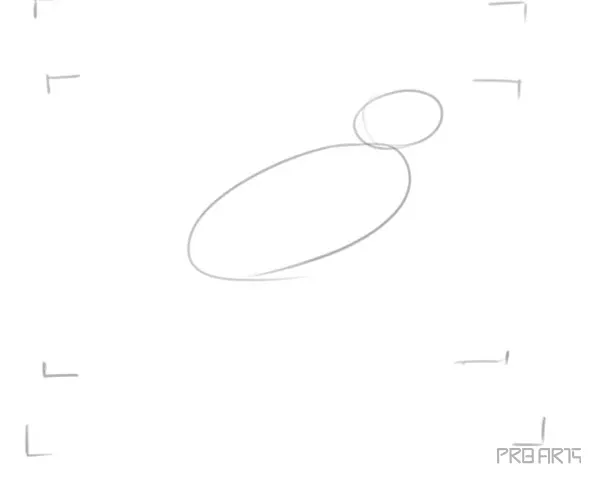
I am drawing an oval shape for the head area as shown in the image below.
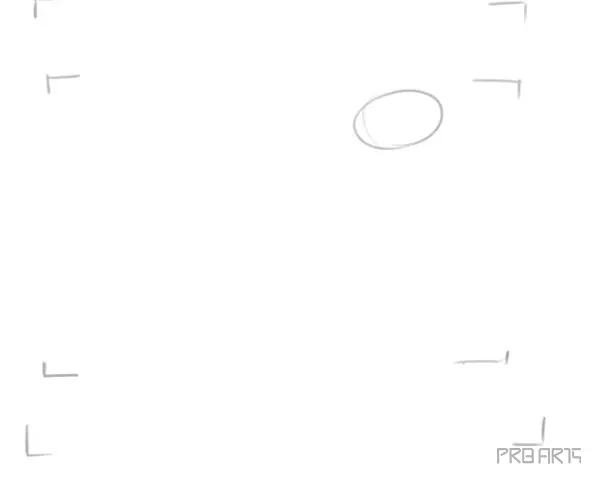
And another big oval shape for body area as shown in the image below.
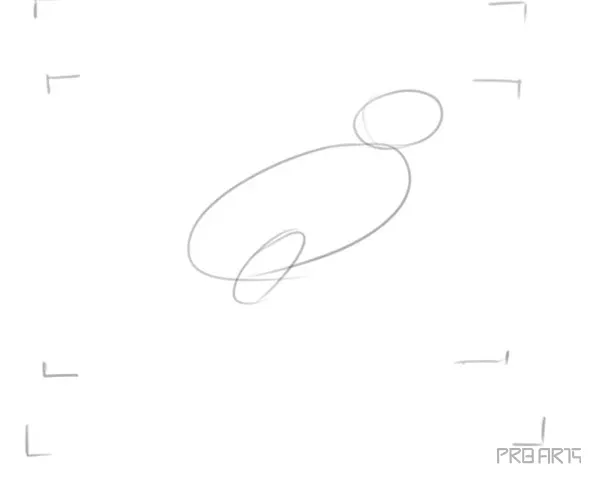
One more oval shape for Tui bird leg area as shown in the image below.
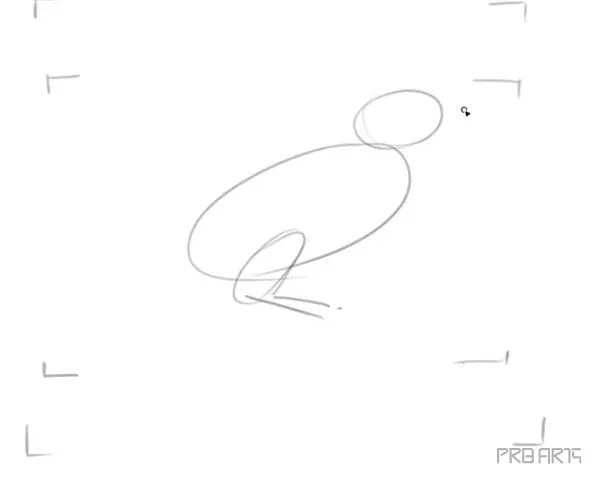
Now draw two cross lines starting from the knee area as shown in the image below.
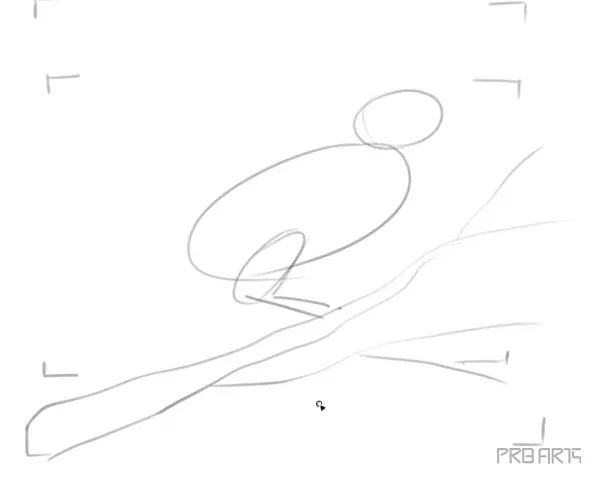
Now I’m drawing a tree branch, feel free to change the shapes of the tree branch as you like.
Draw a cross straight line for the tui bird tail.
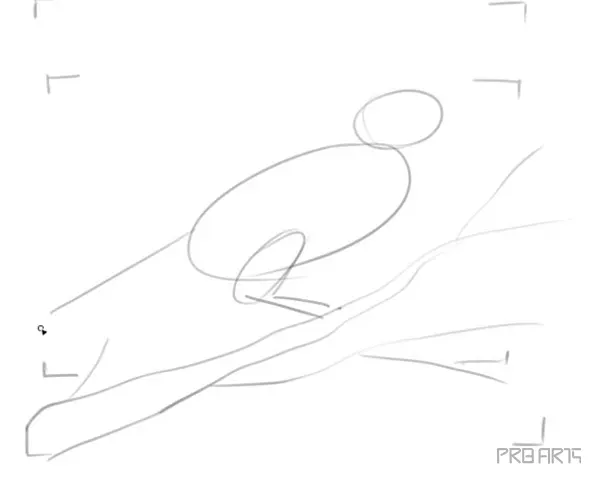
Now add one more cross line for the tail, it will create the shape of the tail as shown in the image below.
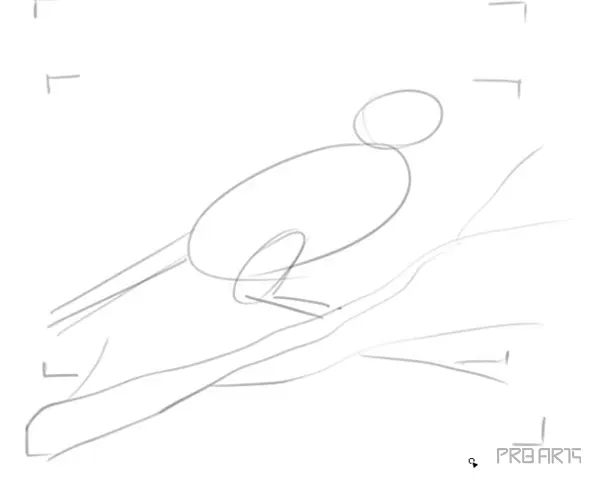
I’m drawing a small line at the outside of the head area for tui bird beak.
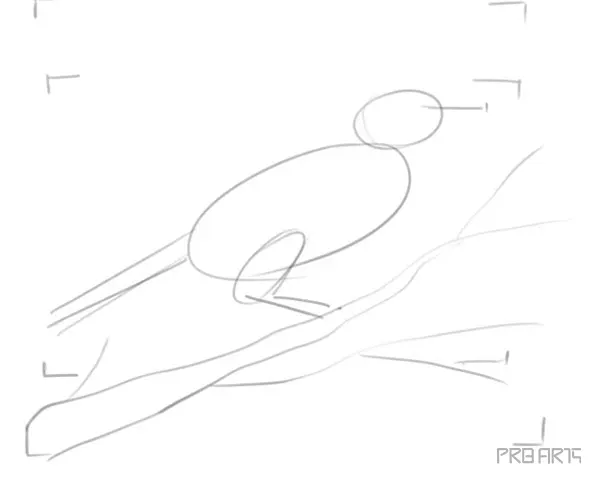
Draw the Final Outline Strokes of Tui Bird
Let’s start the line from the top of the head area as shown in the image below.
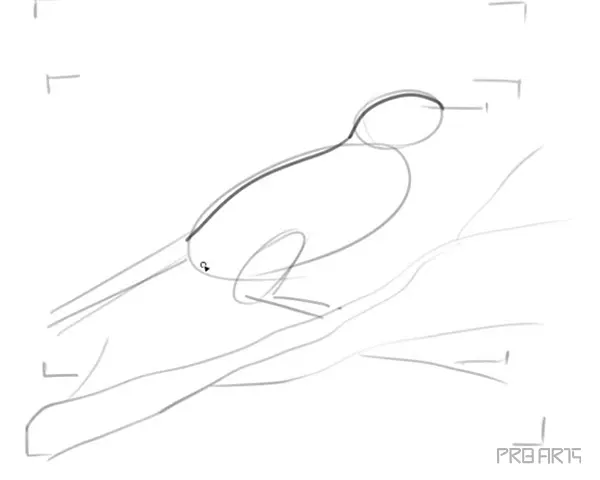
Curve line for the Tui wing as shown in the image below.
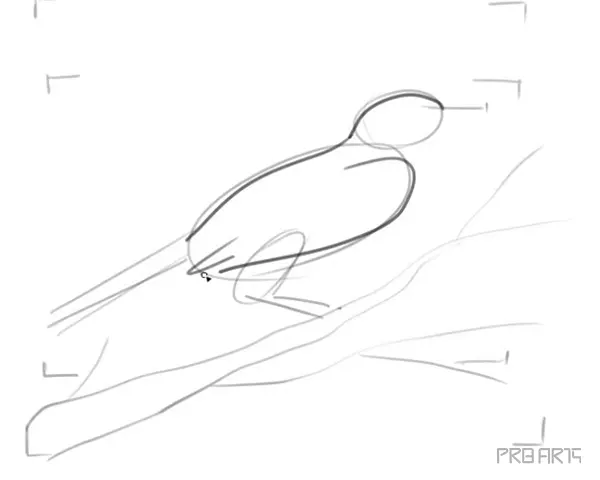
Add a few strokes here and there in the wings area, like the zigzag shapes as shown in the image area.
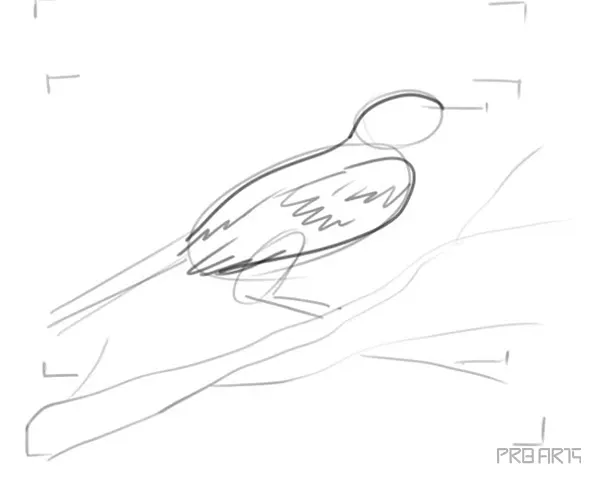
Now draw some thick lines for the tail part.
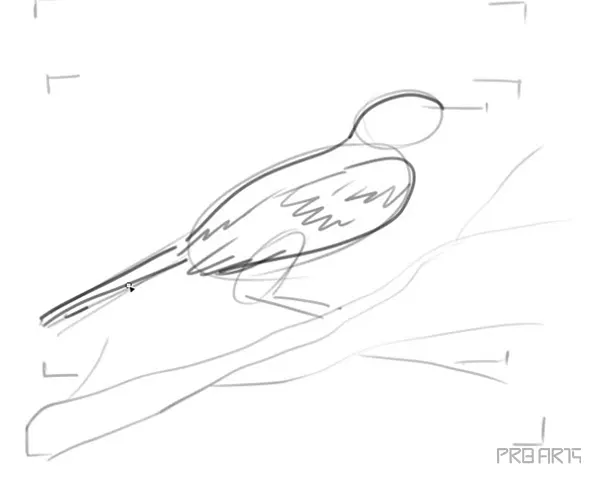
Put the dark circle in the head area for the eyeball. Also, add some final stokes to the beak park.
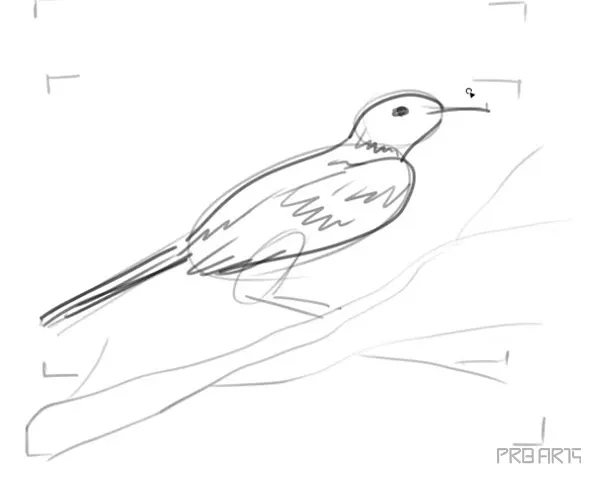
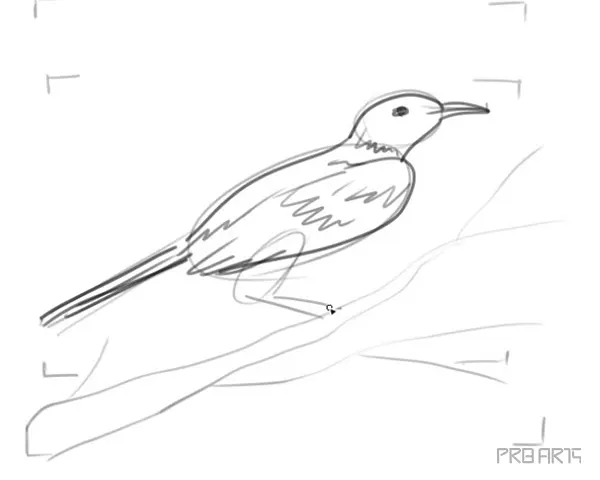
Add curve line at the bottom of the bird and also add the thigh and leg sketch.
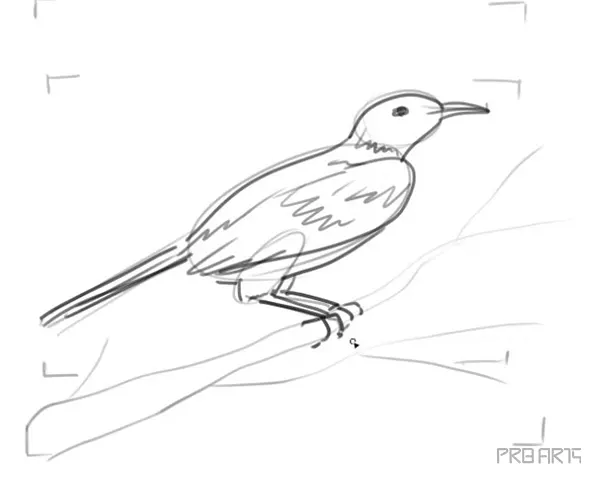
Ok, now it is time to clean up the rough sketch, and your final artwork is done.

Let me know if you have any questions in the comments section below.