Your cart is currently empty!
Banana Watercolor Painting Tutorial
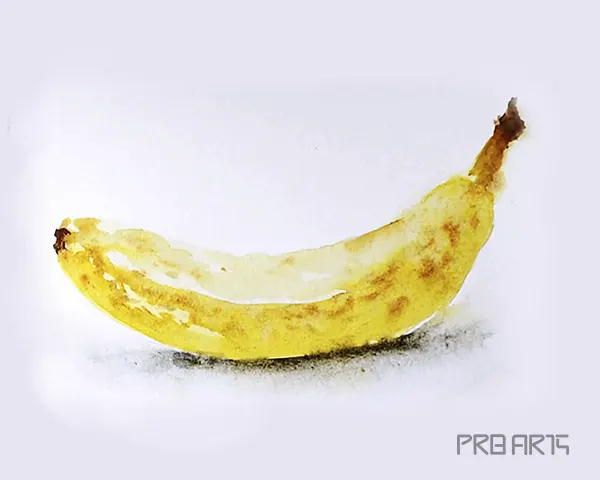
In this tutorial, you will learn how to paint a banana in watercolor in simple steps
This tutorial is designed for beginners and intermediate-level users
Materials: 300gsm Watercolor Paper, Watercolor Tubes, Watercolor Brushes
Colors used in this tutorial: Burnt Sienna, Yellow Ochre, Cobalt Blue, and Ivory Black
I’m not using any pencil to draw a banana sketch in the background, since I know how to draw a banana I’m directly painting the banana
In this painting I’m going to paint the banana in the side view, I thought it would be easy to understand and follow the tutorial for beginners
If you like to learn how to draw a banana drawing sketch please click here
Banana Watercolor Painting – Step by Step Tutorial
Are you ready? Let’s start the painting together
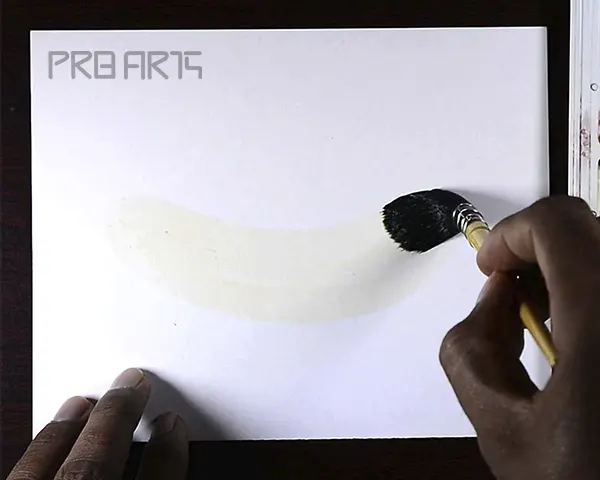
Step 1: Base layer painting
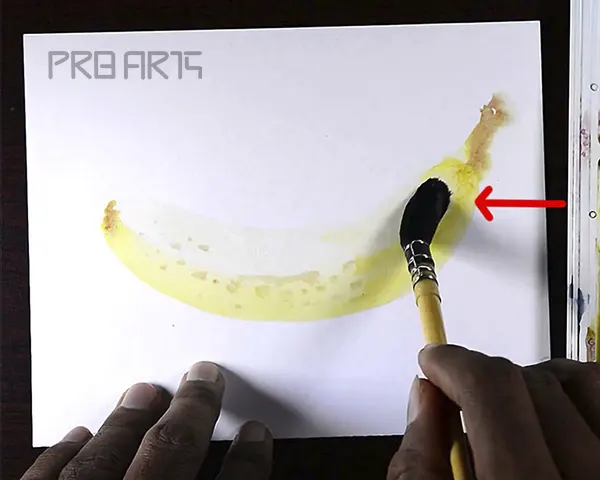
Draw the banana outline sketch with a pencil first if you are a beginner. I’m painting the sketch directly with my watercolor brush using yellow ochre. It is a light color sketch for the outline
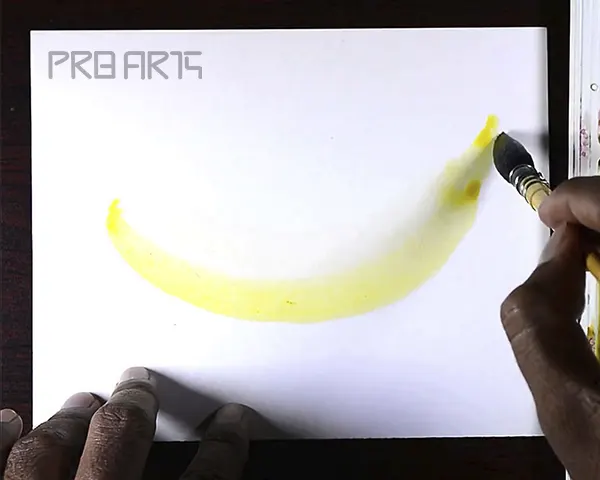
Step 2: Depth layer painting
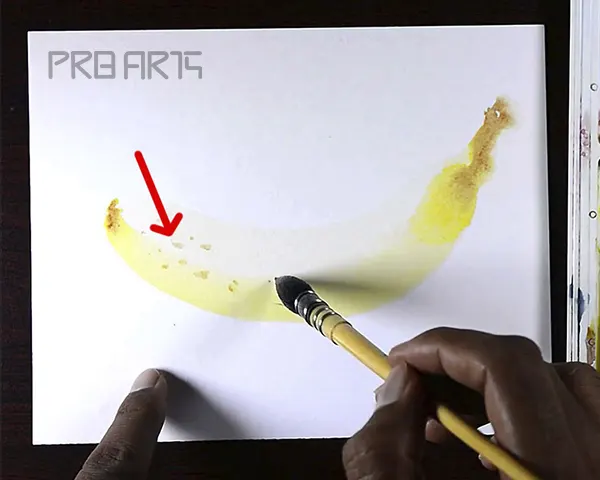
Paint the thick yellow ochre color only in the depth area as shown in the below image
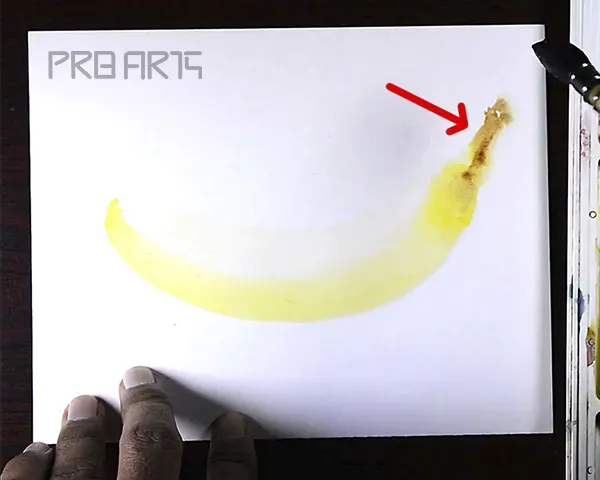
Step 3: Depth color on both ends
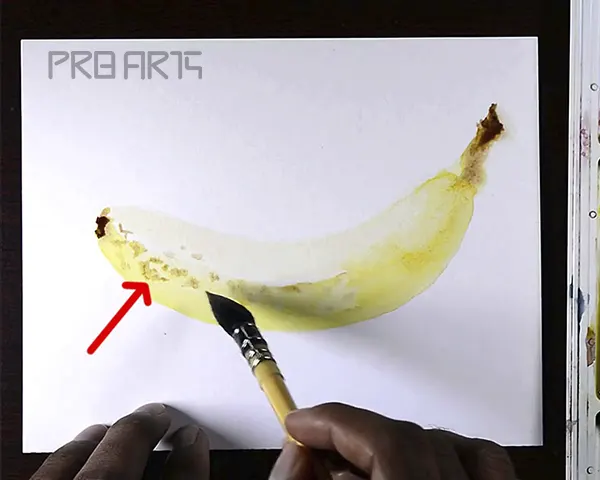
Paint a diluted amount of burnt sienna color to both ends of the banana
Step 4: Rough patch type design painting
Paint the dark patches or irregular design of the banana-like shown in the below image
Step 5: Second layer of the depth
Paint the second layer of yellow ochre again to the depth area

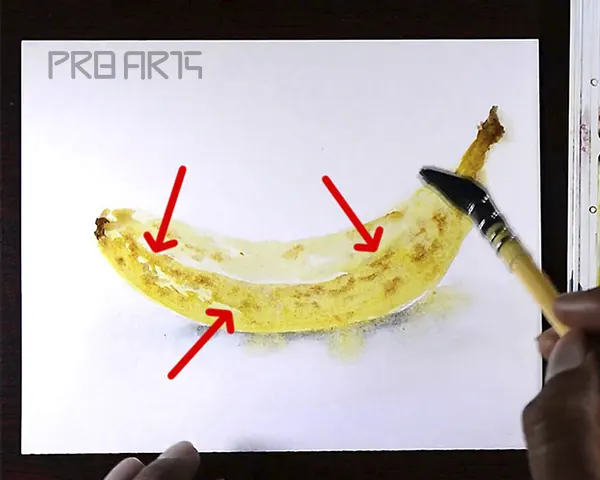
Step 6: Medium color tone painting
Paint the medium color tone of burnt sienna again on the top of the first layer
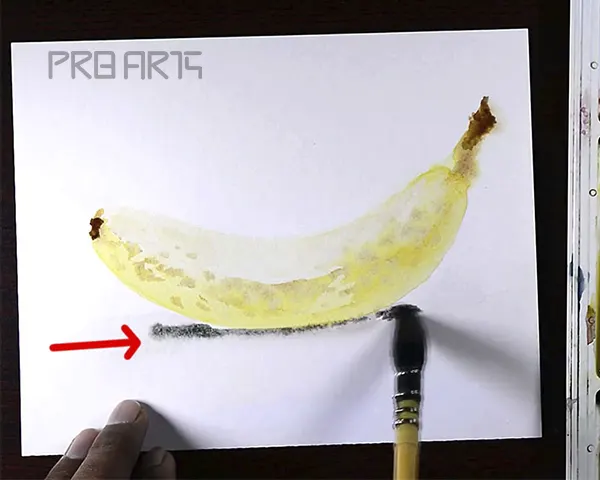
Step 7: Shadow layer painting
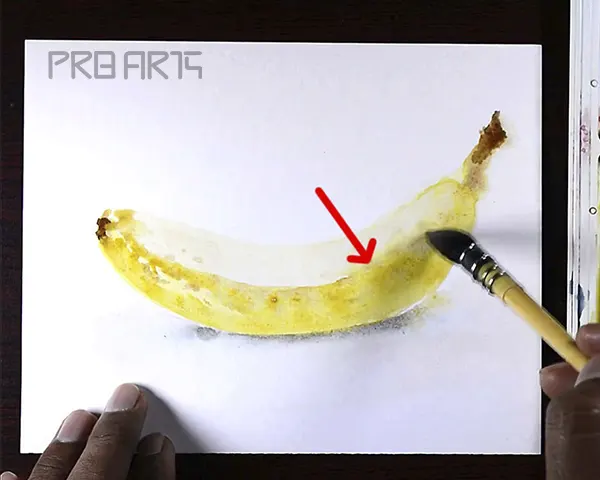
Paint the shadow layer to the banana and the shadows must be in a gradient mix to the background
Step 8: Final Layer & quickly fix the painting
Make sure all the layers are dried. Repaint the yellow ochre color with a loose brushstroke
Check this Banana Watercolor Painting Video Tutorial for easy understanding.
Please feel free to share your result in the PRB ARTS forums