How to draw a moon – an easy step-by-step guide for kids
“Moon drawing” To start, you’ll need a pencil and paper (or a digital drawing tool, if you prefer). Begin by sketching the basic shape of the moon, which is typically a circle or an oval. From there, you can add details such as craters, shadows, and texture to make your moon drawing look more realistic.
It’s also important to pay attention to the lighting of the moon. The moon reflects sunlight, so its brightness and color will change depending on the phase of the moon (full moon, half moon, crescent moon, etc.). Keep in mind that the full moon is brighter than a half-moon or crescent moon, so it will appear more white in color.
In this quick tutorial, you will learn how to draw a half-moon with stars and dust particles as background in an easy step-by-step process.
This tutorial is designed for kids and beginners.
You don’t need to follow the exact steps like in this tutorial, it is just an idea for you, use your creativity to improve this moon drawing as you like.
There are no rules or specific steps to follow in art that is the beauty of art.
Don’t worry if something goes wrong draw again and again until you are happy with your artwork.
The time needed: 5 minutes
Materials: A4 size paper, pencil, and an eraser
Please note: use a light HB pencil to draw all the shapes. Once it is perfect, you can add a second layer with a dark tone. For this tutorial purpose, I’m using the dark outline.
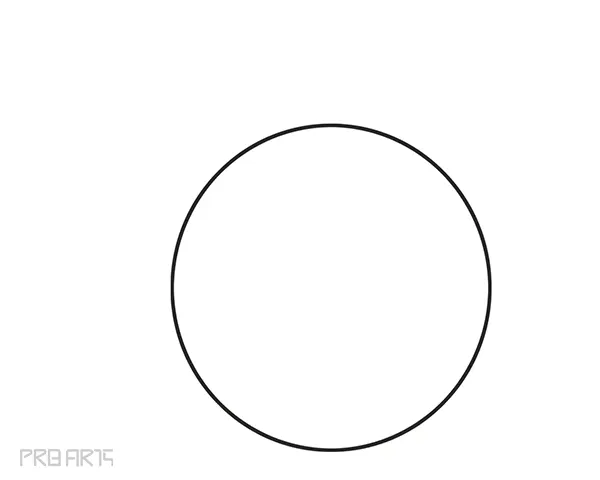
Step 1: Draw a circle
Compose the circle on the right side of the paper/drawing sheet
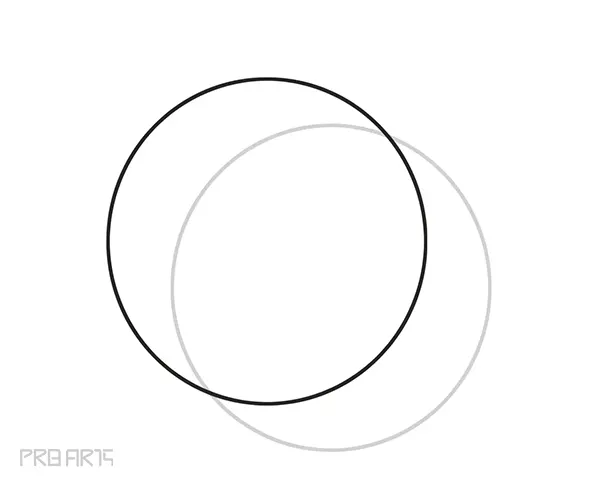
Step 2: Draw the second circle
Draw the second circle over on the first one like in the image below
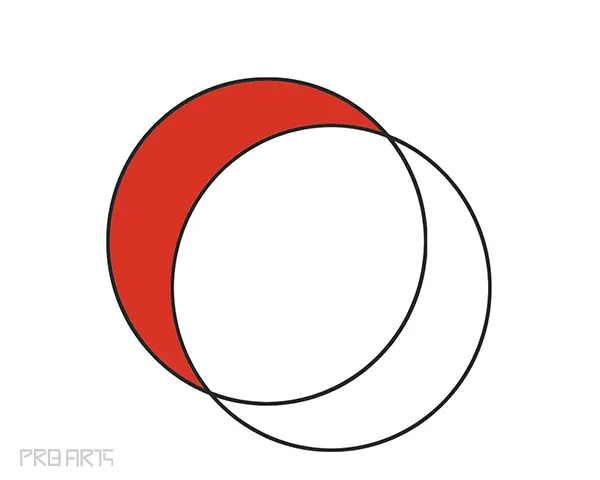
Step 3: Erase the unwanted area
Remove the unwanted area marked with red color for your understanding
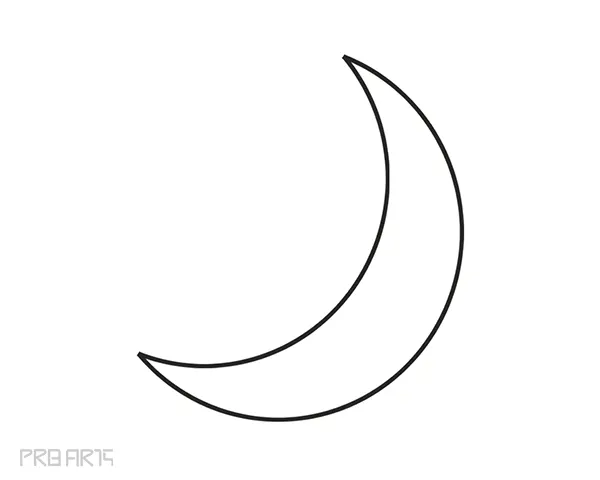
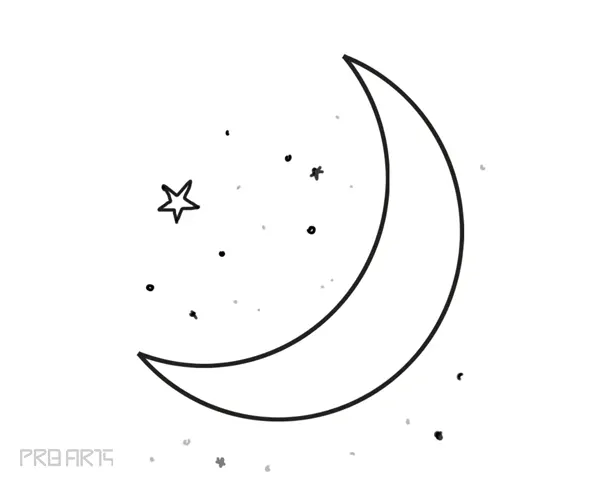
Step 4: Moon drawing completed
Wow, the moon drawing is completed. Let’s add some stars & planets
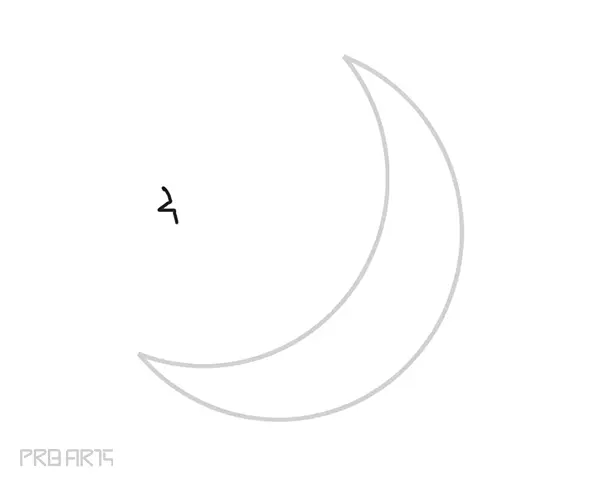
Step 5: Start to draw the stars
Drawing a star is easy just imagine the letter A
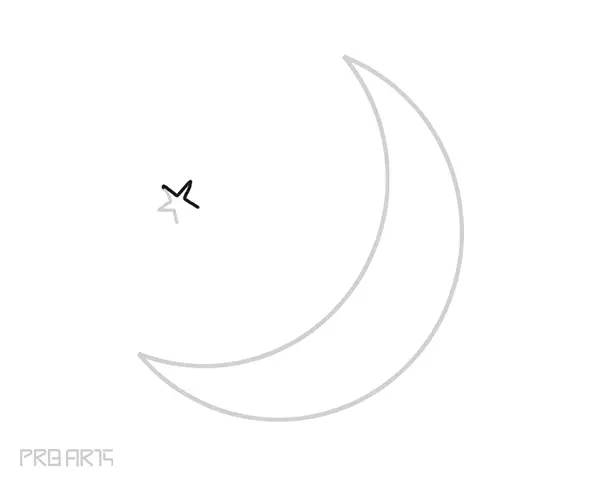
Step 6: Star drawing – the second step
Draw the same shape in an inverted position
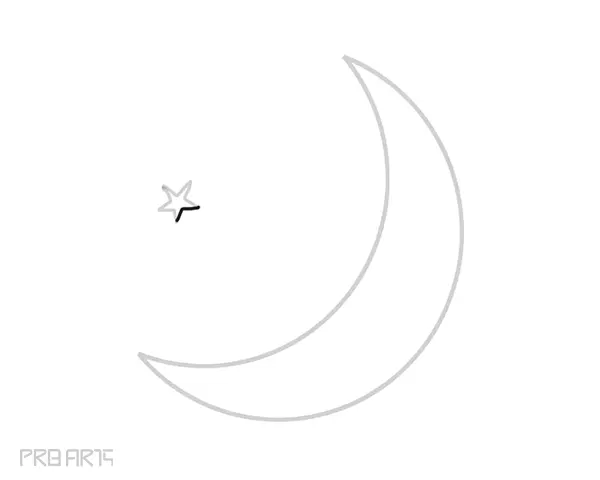
Step 7: Star drawing is completed
Let’s add the final shape to the star like this
Step 8: Draw the planets
Draw small size round dots here and there with random sizes like in the image below
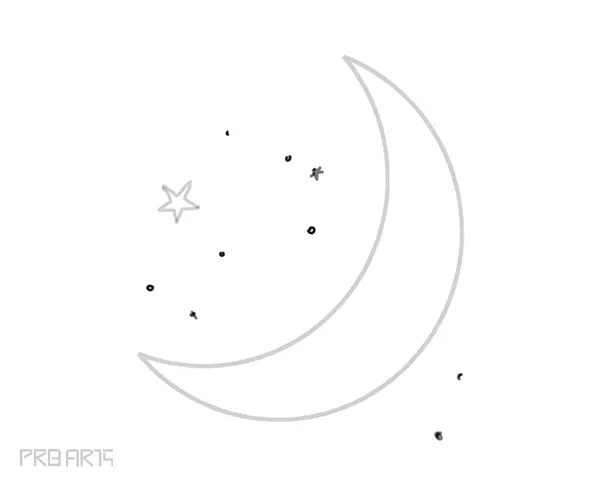
Step 9: Draw the dust particles
Draw small dots in light shade with your pencil in the background area like in the image below
When you’re finished with your moon drawing, you can add color to it using paint, markers, or colored pencils. You can also experiment with different techniques such as blending, layering, and cross-hatching to create different effects.
Overall, drawing the moon can be a fun and creative activity. It allows you to experiment with different techniques and styles and can be a great way to improve your skills as an artist.