Your cart is currently empty!
Hut Drawing – How to Draw a Hut
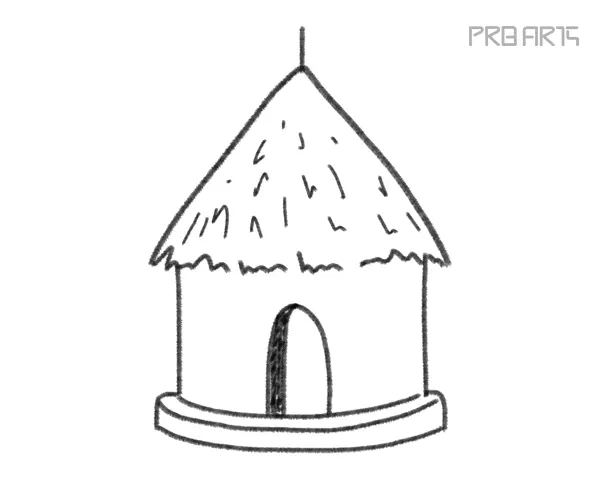
How to Draw a Hut – An Easy Step-by-Step Complete Guide
Hut Drawing – In this art tutorial you will learn to draw the outline sketch of the hut from start to finish
I’m drawing a single hut in this tutorial for easy understanding you can add trees, rocks, mountains, and clouds in the background
Use all your creative mind and improve the artwork in your own way
The time needed: 5 minutes
Materials: A4 size paper, pencil, and an eraser
Are you ready to start this hut drawing?
Hooray! let me show you the step-by-step process
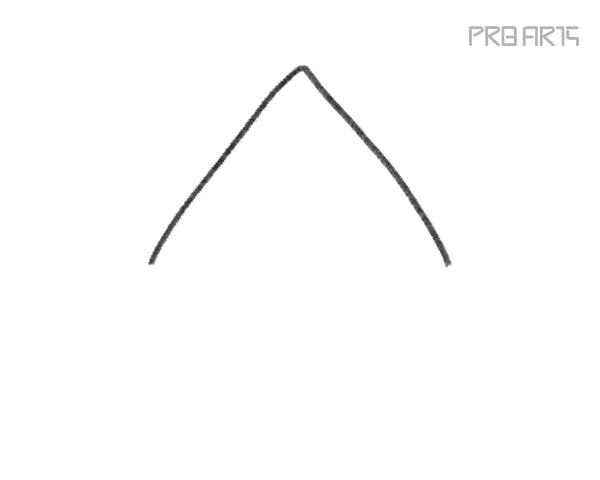
Step 1: Hut upper part
Draw the inverted V shape
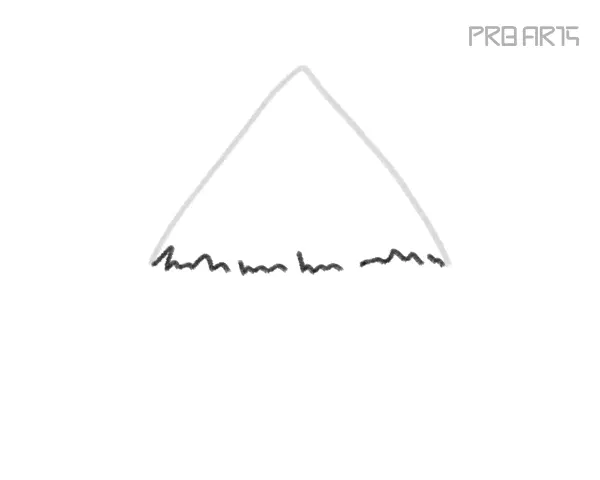
Step 2: Hut leaves shape
Draw random zig-zag lines in a rough style
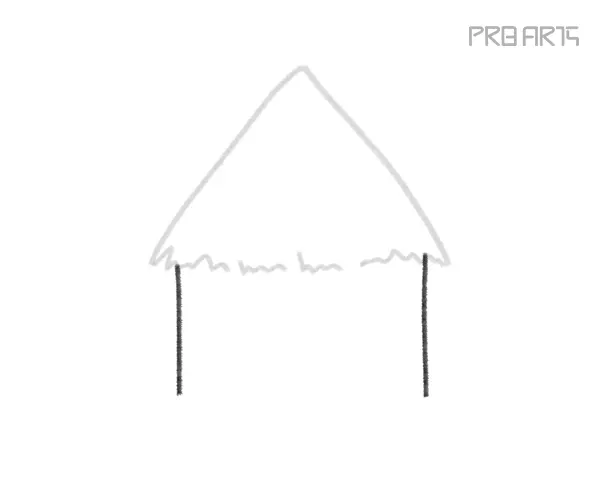
Step 3: Hut wall shape
Draw two parallel lines
Step 4: Hut floor shape
Draw a curve line
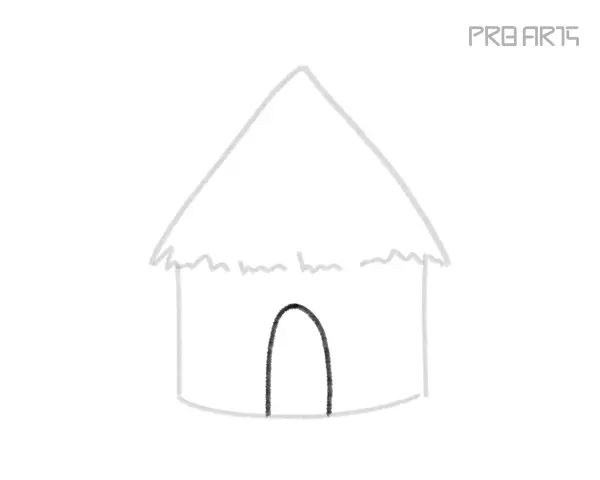
Step 5: Hut door shape
Draw an inverted U shape
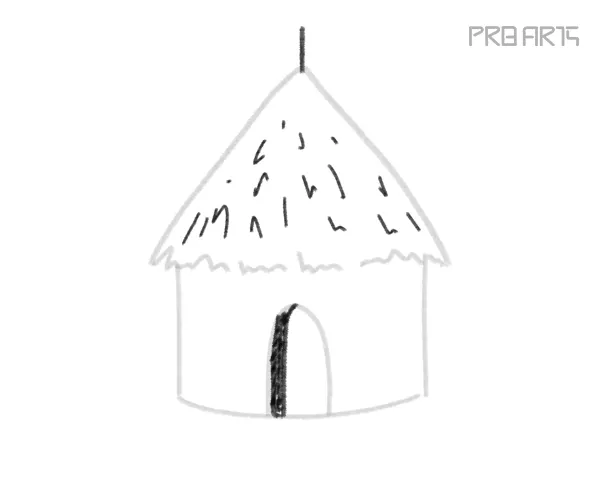
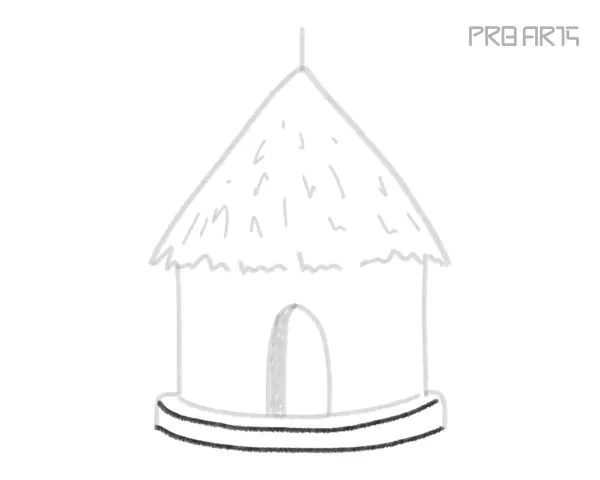
Step 6: Hut depth details
Draw a rough random shape like in the image below on the roof area and also draw the dark depth inside the house
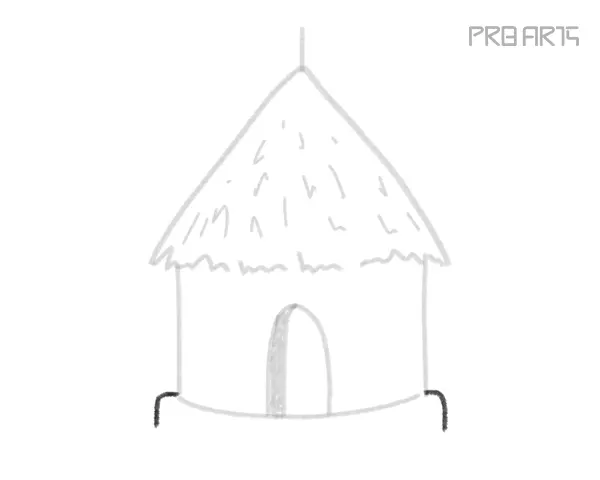
Step 7: Hut foundation layer
Draw two bend lines at both corner
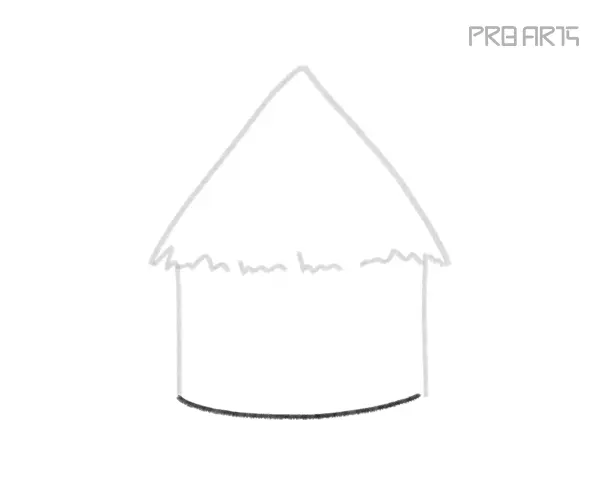
Step 8: Hut base area
Draw two curve lines
Step 9: Clean up & coloring
Use the eraser to clean the unwanted lines and now this artwork is ready for coloring
I hope you like this hut drawing tutorial
You don’t need any drawing skills to draw this hut, if you are a beginner it is ok if the line is bent or the hut sketch does not look like a hut shape, once you finish the art.
Please try one more time and I am sure you will get the result, drawing is nothing but straight and curved lines
How is your artwork so far? if you wish to share your work please post it here in the forums