Your cart is currently empty!
How to Draw a Christmas Tree for Kids
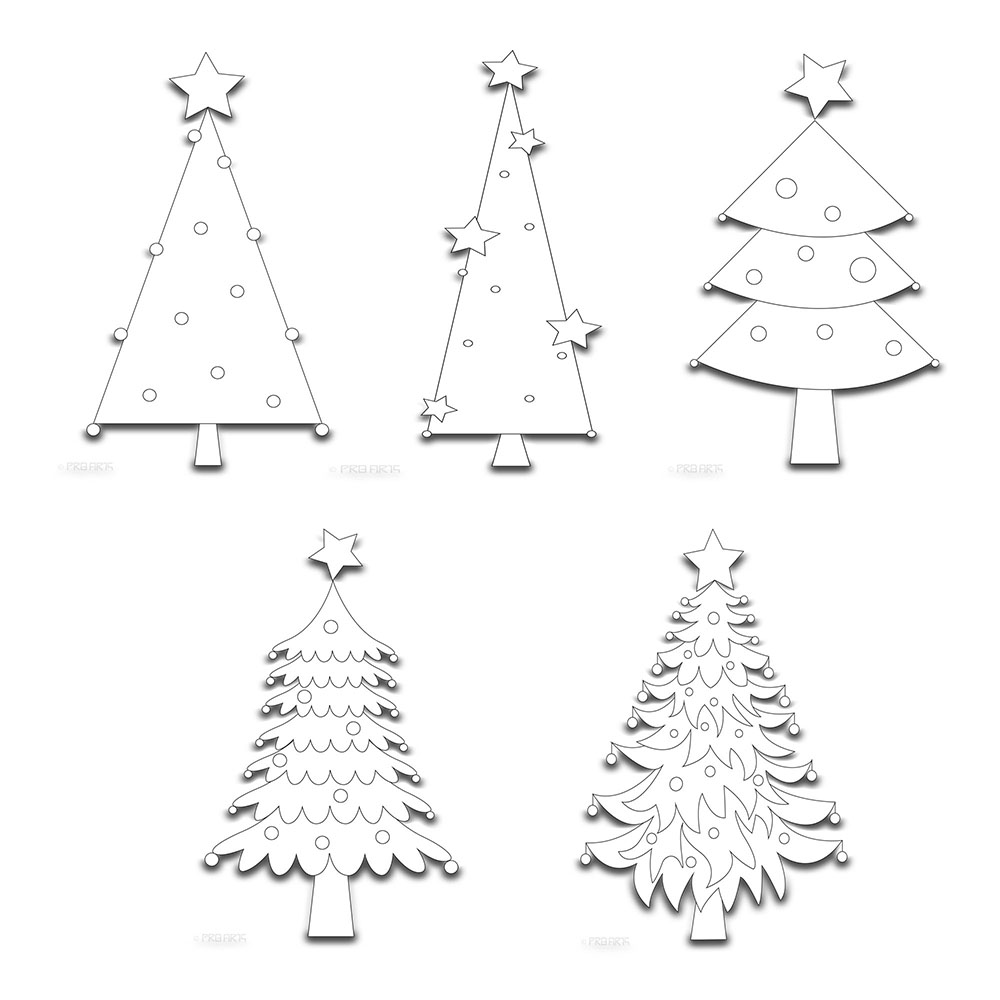
Learn how to draw a Christmas tree with an easy step by step tutorial guide for kids and adults.
What You Will Need
- An A4 size plain paper.
- A pencil.
- An eraser.
This tutorial guide will be helpful for complete beginners to intermediate level users and all age group kids.
This guide is a pack of five Christmas tree tutorials.
- Christmas tree for preschool kids.
- Christmas tree for kindergarten kids.
- Christmas tree for 1st Grade school kids.
- Christmas tree for 2nd Grade school kids.
- Christmas tree for 3rd Grade and above.
Let start with the Christmas tree drawing tutorial for preschool kids first.
Note: Red color arrow shown in the images is to guide you through the drawing process.
Christmas Tree for Preschool Kids in 4 Steps
Step 1: Draw a star, as shown in the image below.

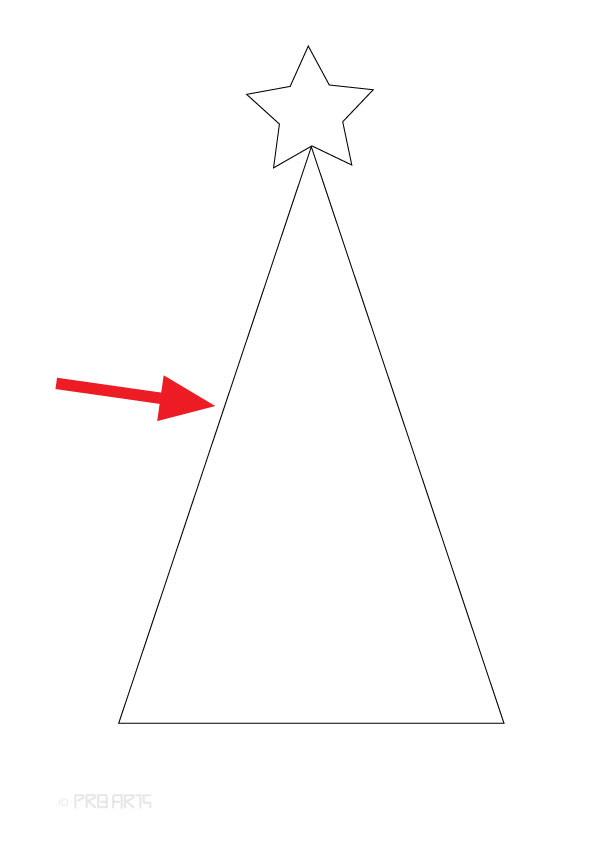
Step 2: Draw a triangle, as shown in the image below.
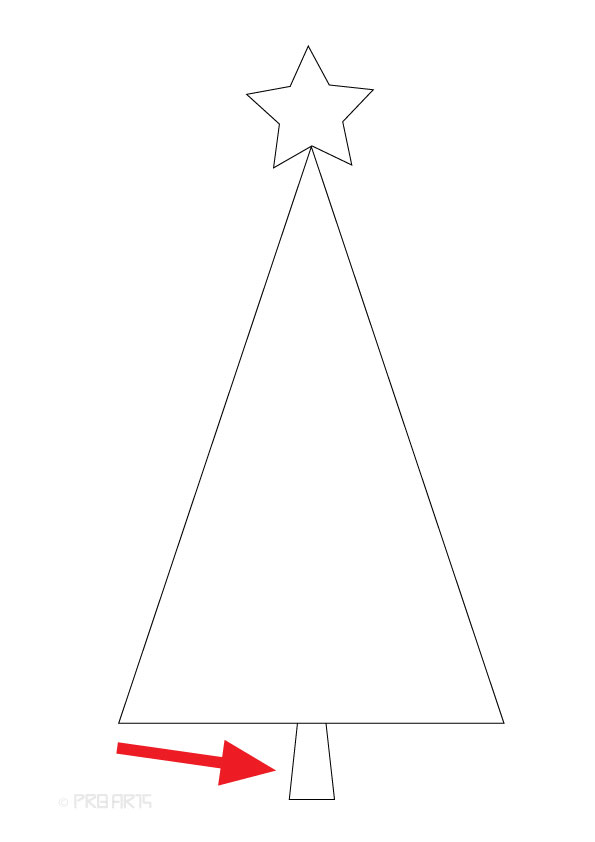
Step 3: Draw a stem for the tree, as shown in the image below.
Step 4: Draw a small circle on the Christmas tree, as shown in the image below.
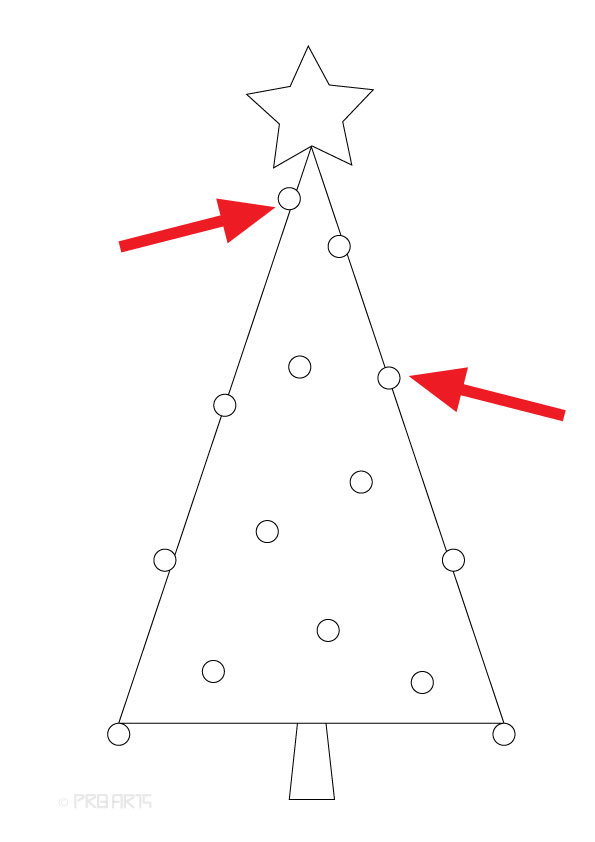
Congratulations, You have successfully drawn this image, paint green colour for the tree, yellow colour for the star and orange colour for the circle( electric bulb) and finally brown colour for the stem.
Christmas Tree for Kindergarten Kids in 5 Steps
Step 1: Draw a star as you like, as shown in the image below.

Step 2: Draw a big size triangle, as shown in the image below.
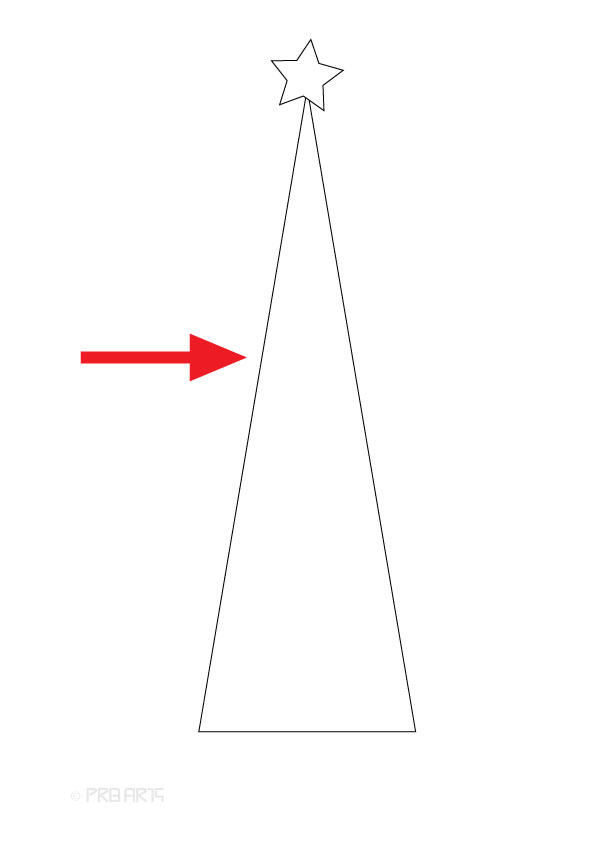
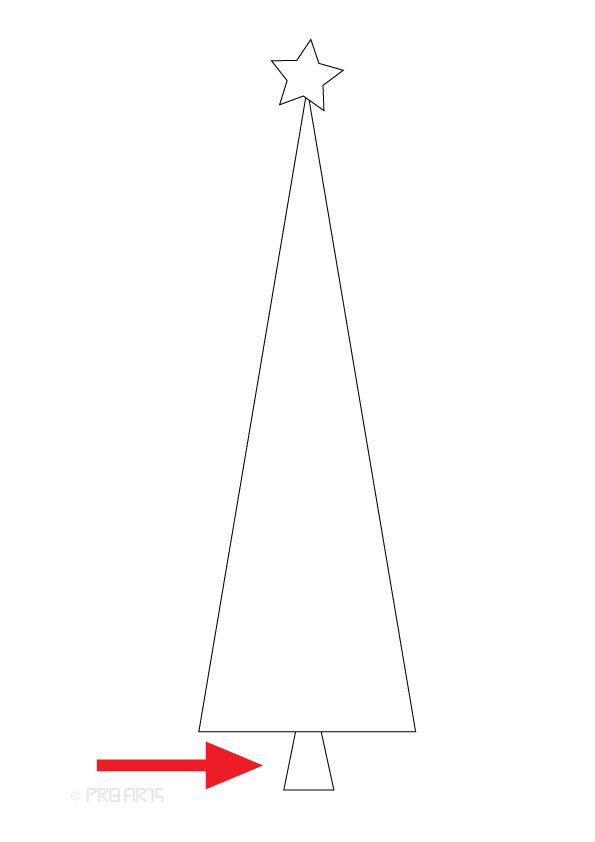
Step 3: Draw a small stem for the tree, as shown in the image below.
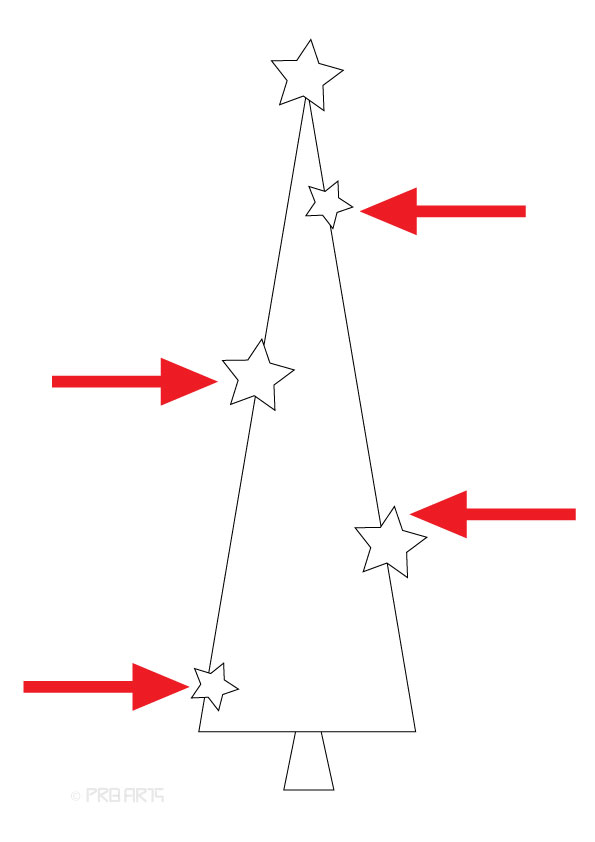
Step 4: Draw a small star on the Christmas tree here and there, as shown in the image below.
Step 5: Draw a small circle on the Christmas tree for decoration, as shown in the image below.
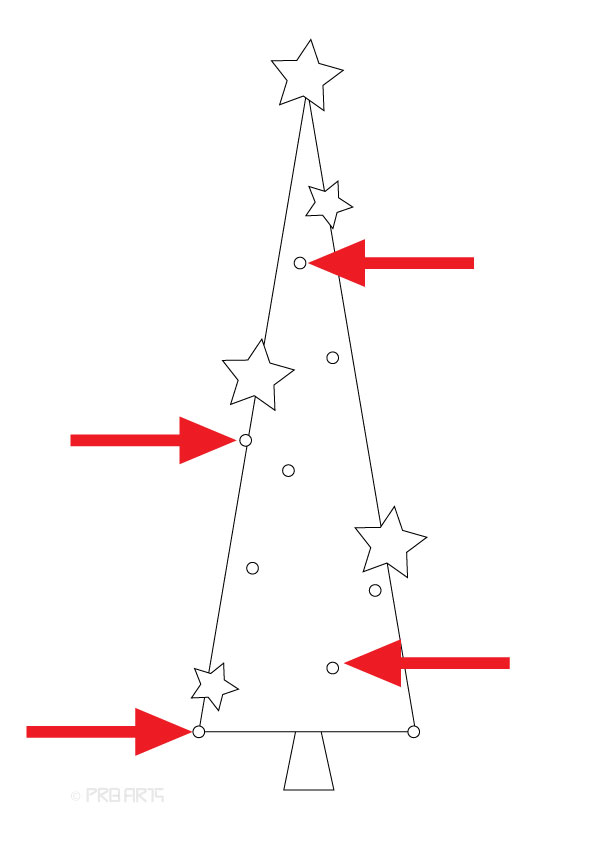
Congratulations, You have successfully drawn this image, mix green and yellow and paint the colour for the tree, lemon yellow or any light shade colour for the star and orange colour for the circle( electric bulb) and finally brown colour for the stem.
Christmas Tree for 1st Grade School Kids in 6 Steps
Step 1: Draw a single star, as shown in the image below.

Step 2: Draw a triangle shape below the star and make sure the bottom of the triangle is curved in shape, as shown in the image below.
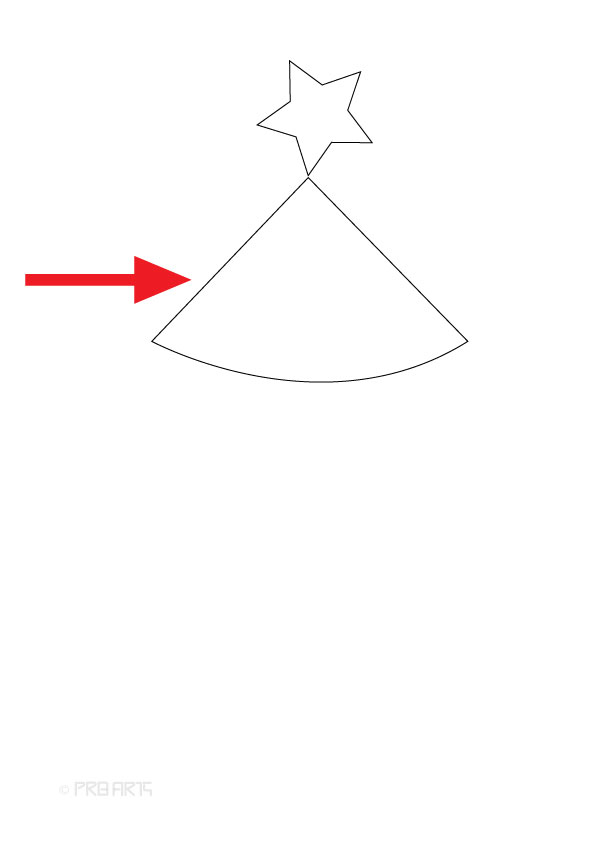
Step 3: Follow the same step 2 procedure and draw another triangle a little- bit bigger than the first one, as shown in the image below.
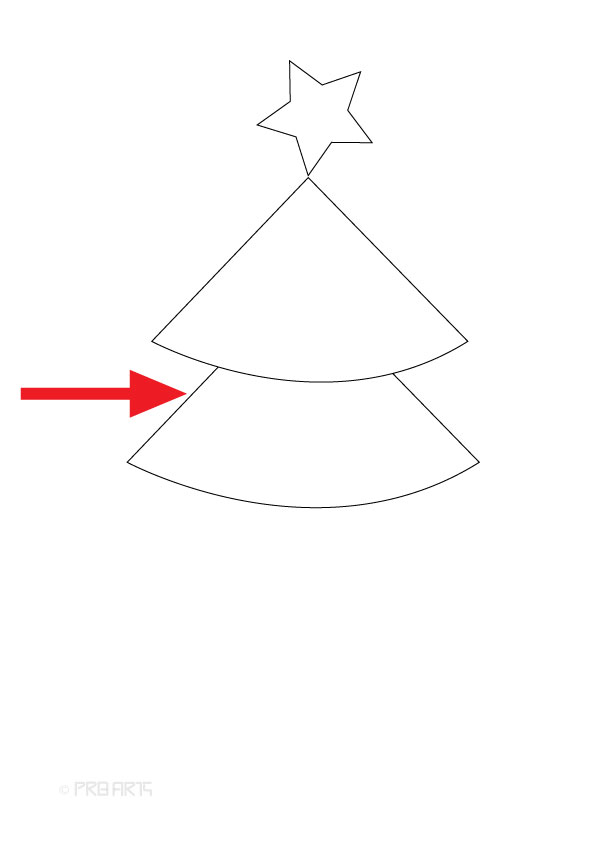
Step 4: Follow the same step 2 procedure and draw another triangle a little- bit bigger than the step 3 triangle, as shown in the image below.
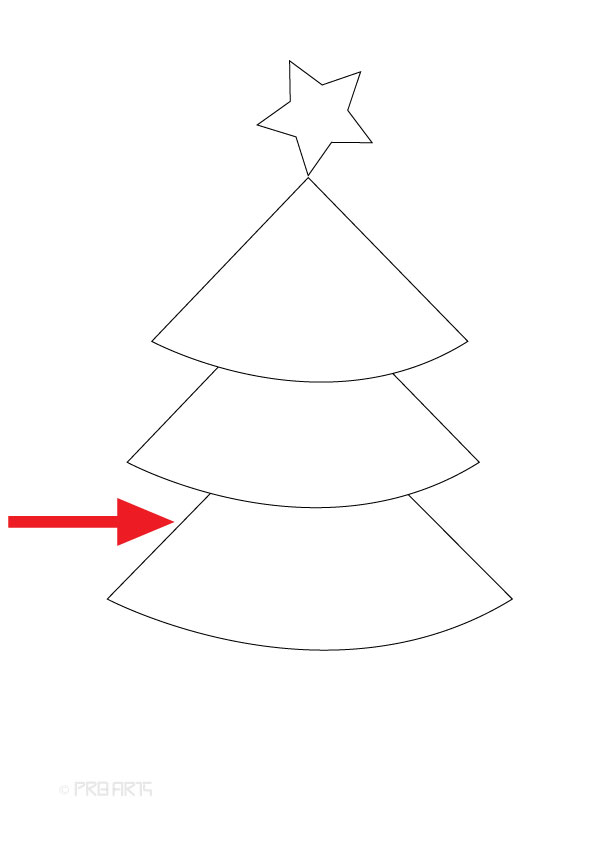
Step 5: Draw a small stem at the bottom of the step 4 triangle, as shown in the image below.
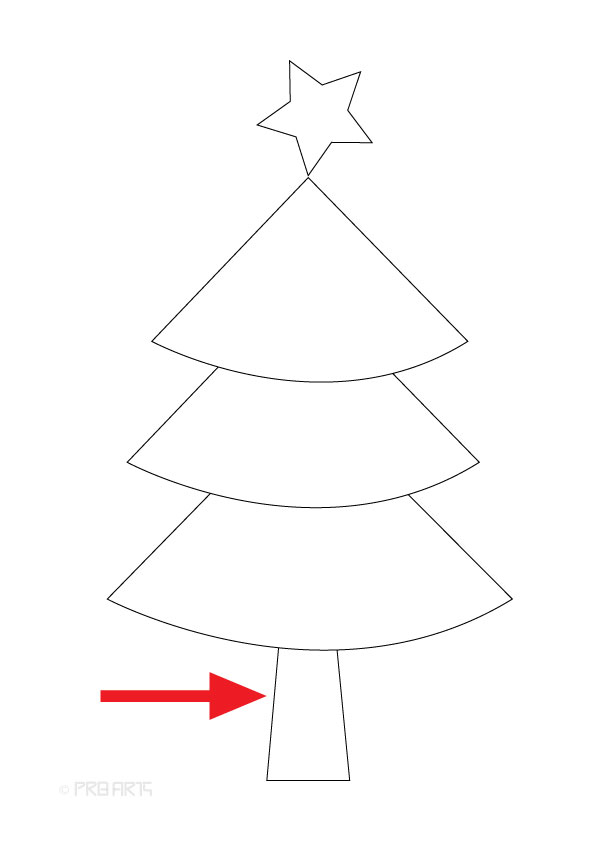
Step 6: Draw a small circle on the Christmas tree for decoration, as shown in the image below.
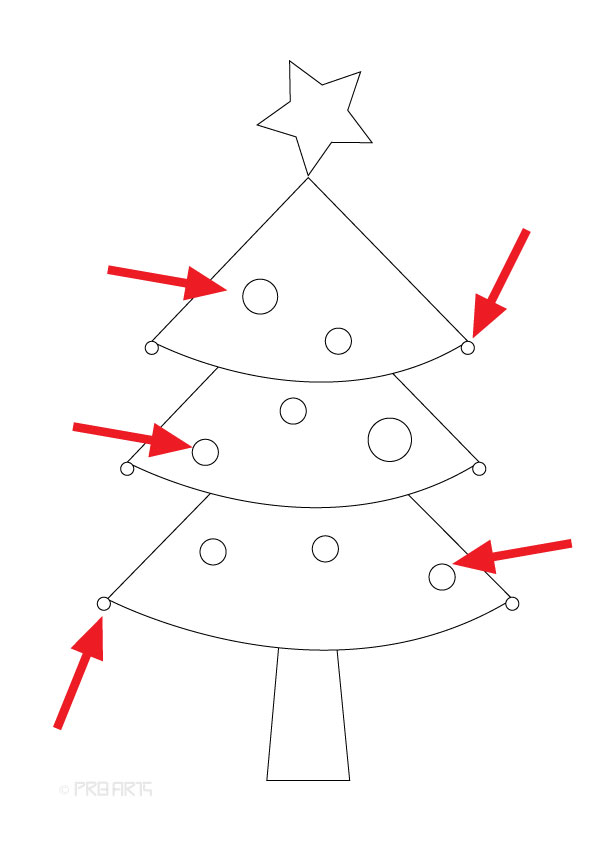
Congratulations, You have successfully drawn this image. Have some fun with your drawing by painting colours on it.
Christmas Tree for 2nd Grade School Kids in 10 Steps
Step 1: Draw a single star at the top of the page, as shown in the image below.

Step 2: Draw a curve-liked triangle shape below the star and make sure the bottom of the triangle is curved in a continuous U shape pattern, as shown in the image below.
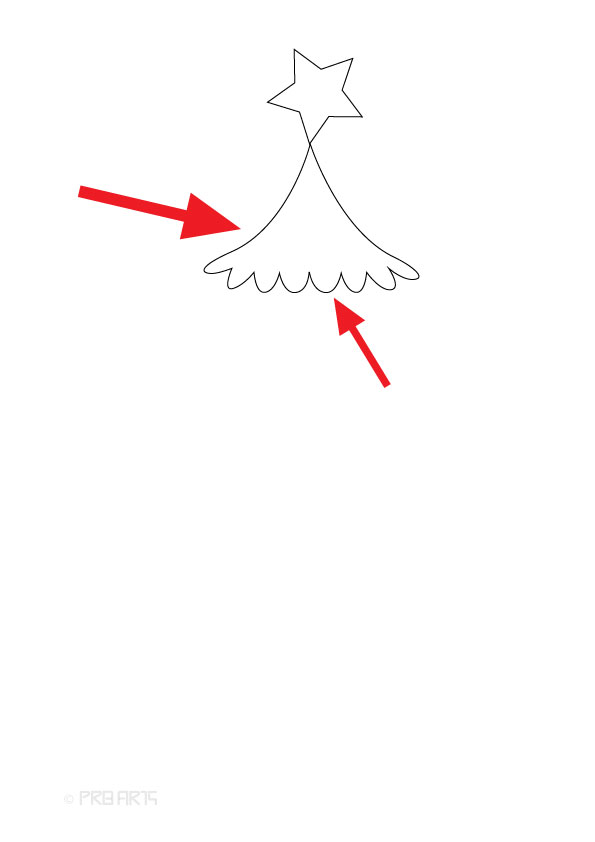
Step 3: Follow the same step 2 procedure and draw another design a little- bit bigger than the first one, as shown in the image below.
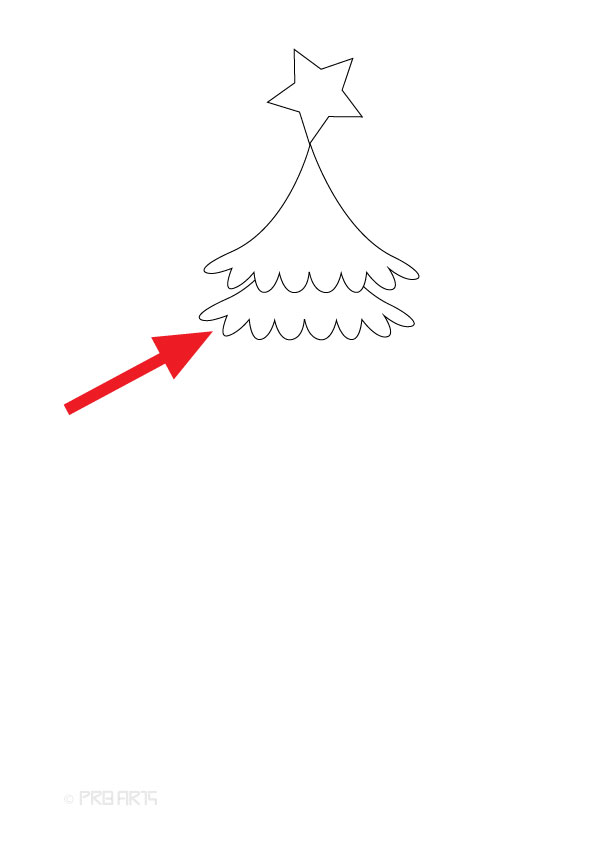
Step 4: Follow the same step 2 procedure and draw another design a little- bit bigger than the step 3 tree design, as shown in the image below.
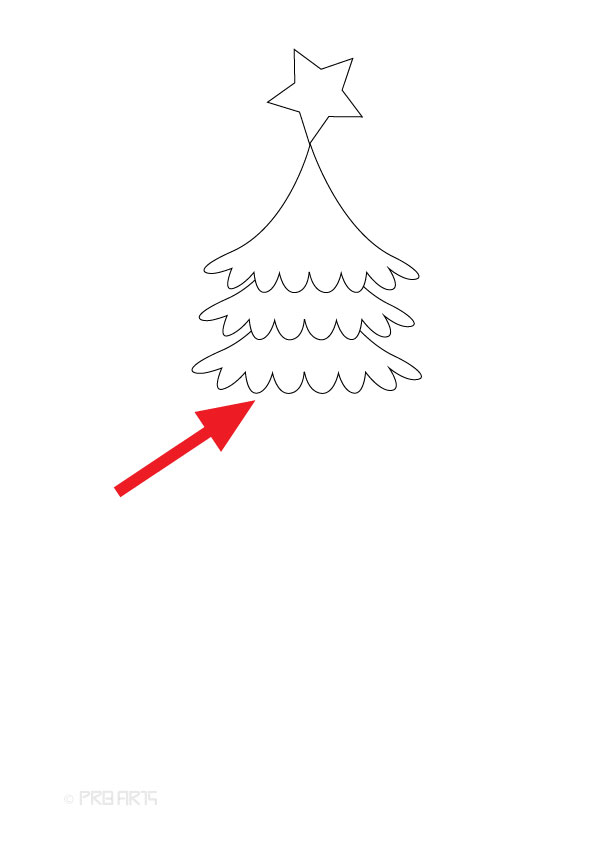
Step 5: Follow the same step 2 procedure and draw another design a little- bit bigger than the step 4 tree design, as shown in the image below.
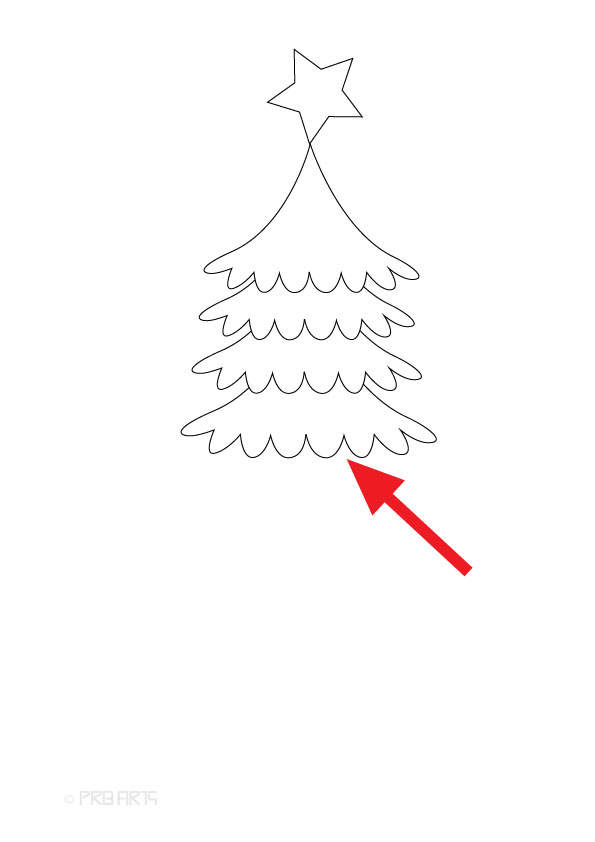
Step 6: Follow the same step 2 procedure and draw another design a little- bit bigger than the step 5 tree design, as shown in the image below.
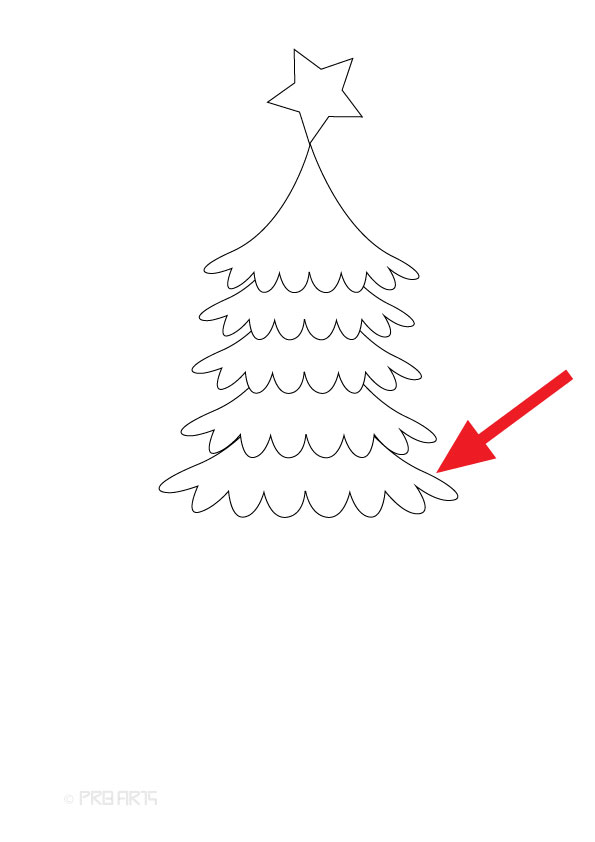
Step 7: Follow the same step 2 procedure and draw another design a little- bit bigger than the step 5 tree design, as shown in the image below.
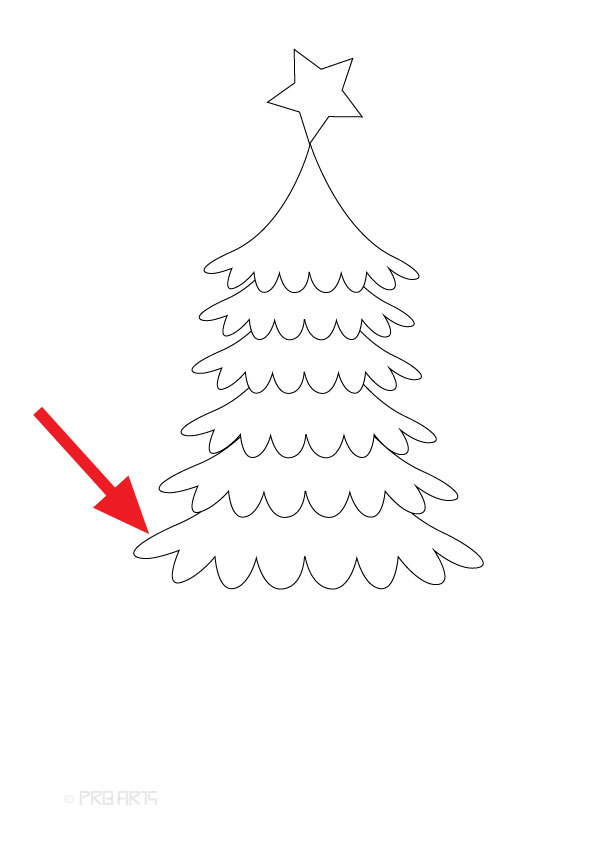
Step 8: Follow the same step 2 procedure and draw another design a little- bit bigger than the step 6 tree design, as shown in the image below.
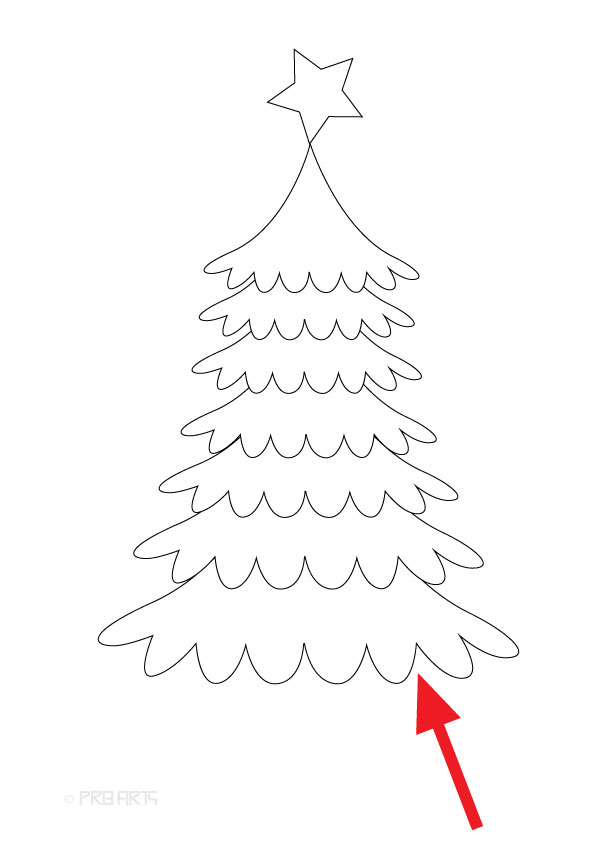
Step 9: Draw a small stem, as shown in the image below.
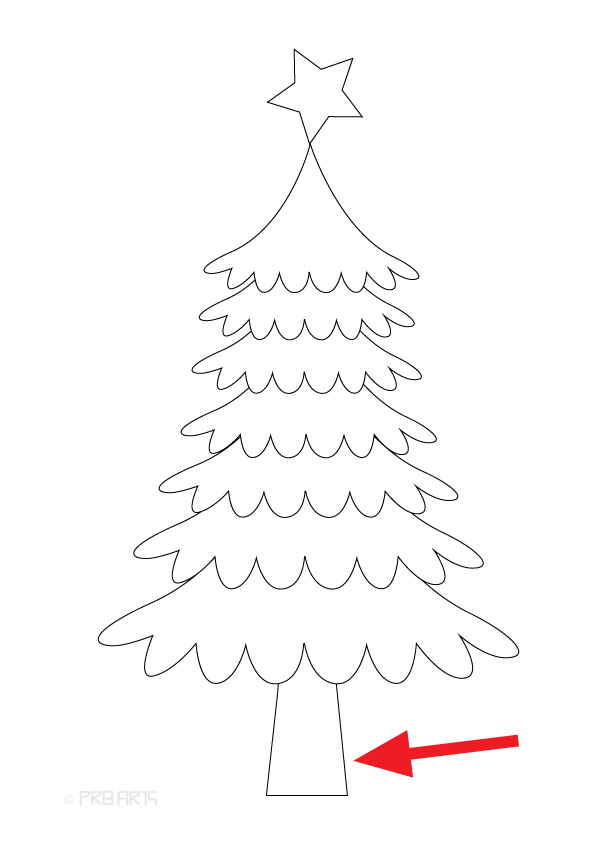
Step 10: Draw a small circle on the Christmas tree for decoration, as shown in the image below.
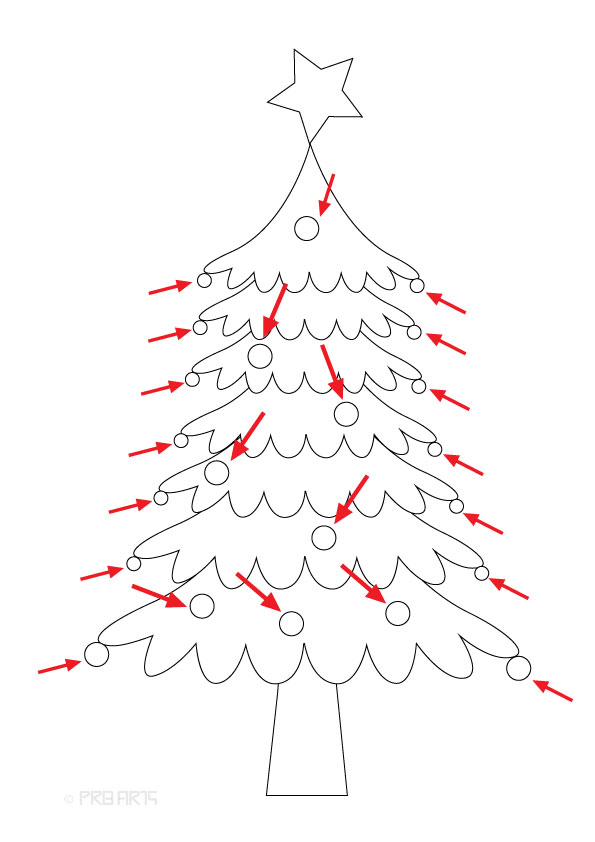
Congratulations, You have successfully drawn this image. Have fun with colouring on it.
Christmas Tree for 3rd Grade School Kids in 9 Easy Steps
Step 1: Draw a single star at the top and centre of the page, as shown in the image below.

Step 2: Draw a tree bush design pattern below the star, as shown in the image below.
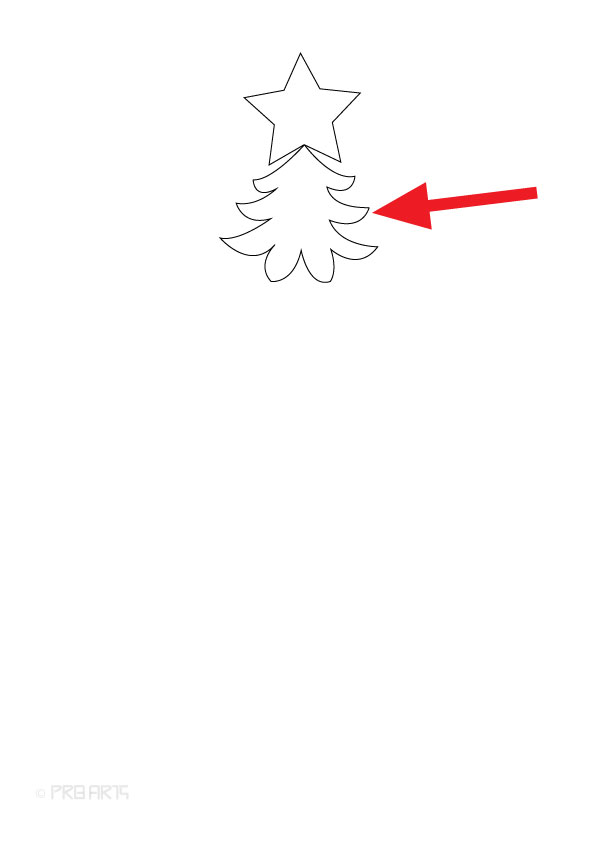
Step 3: Draw a second layer of tree bush design pattern below the step 2 design, as shown in the image below.
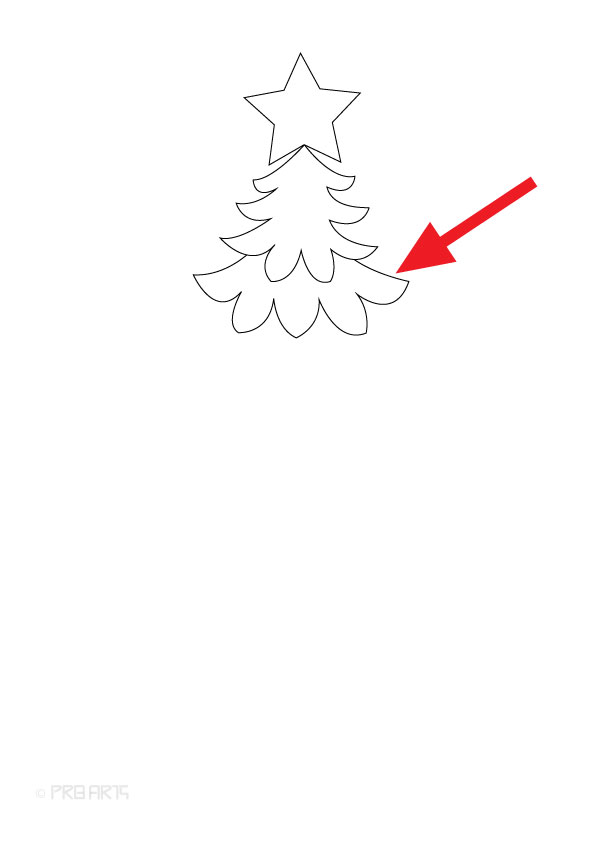
Step 4: Follow the same step 3 procedure and draw another design a little- bit bigger than the step 3 tree bush design, as shown in the image below.
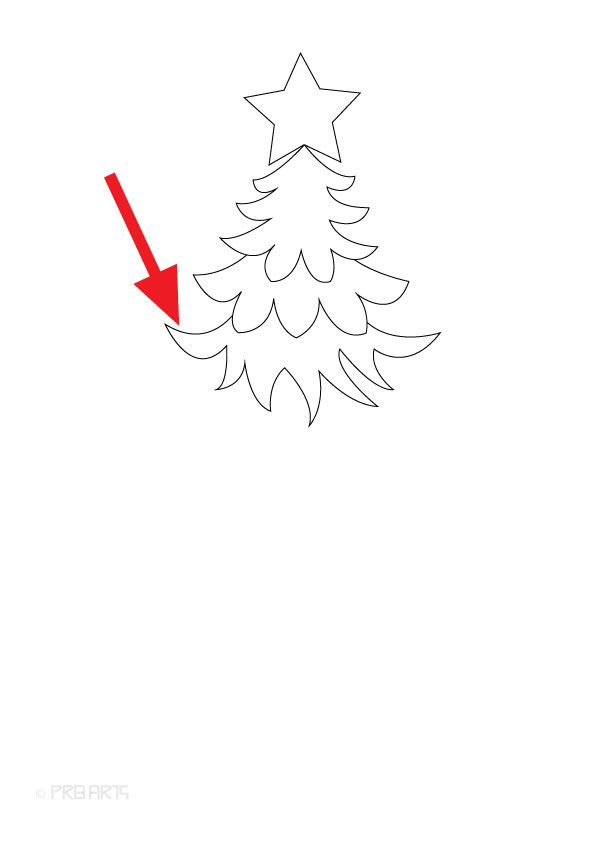
Step 5: Follow the same step 4 procedure and draw another design a little- bit bigger than the step 4 tree bush design, as shown in the image below.
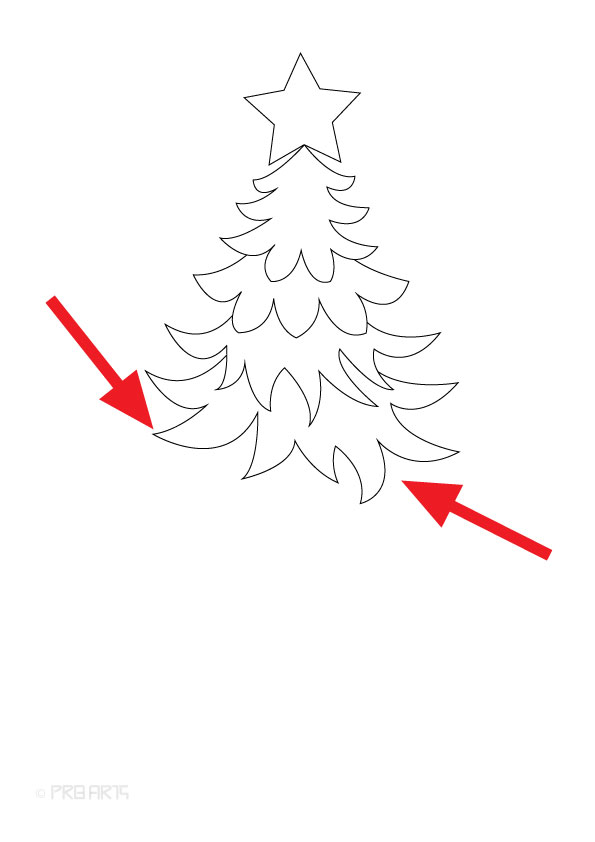
Step 6: Follow the same step 5 procedure and draw another design a little- bit bigger than the step 5 tree bush design, as shown in the image below.
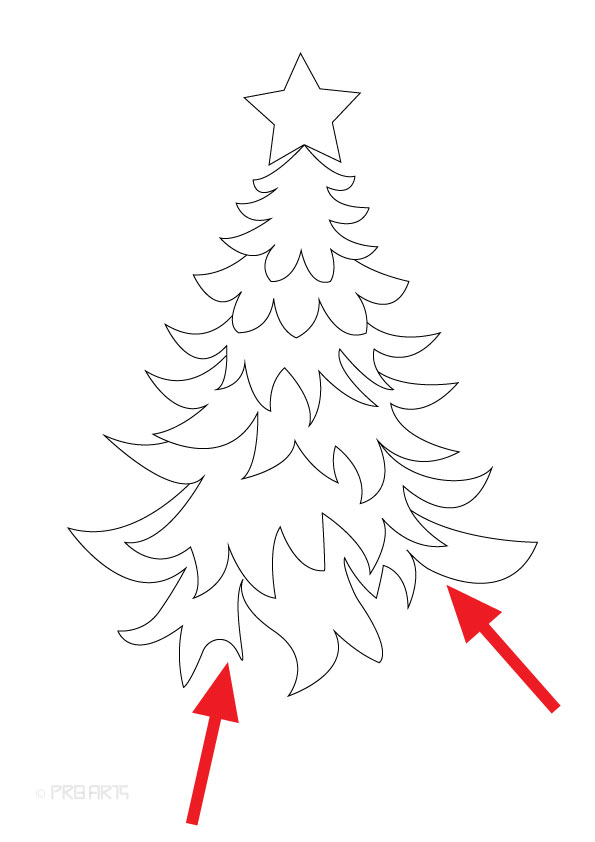
Step 7: Follow the same step 6 procedure and draw another design a little- bit bigger than the step 6 tree bush design, as shown in the image below.
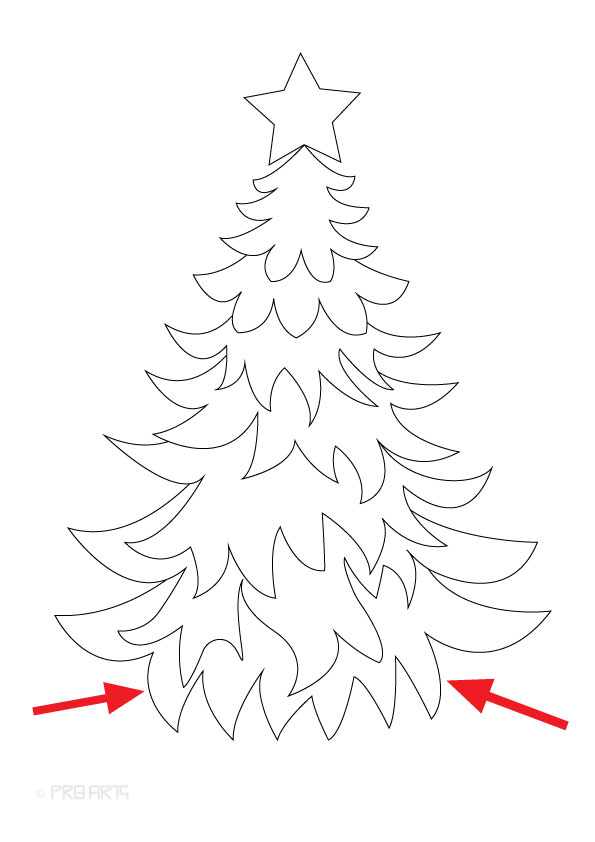
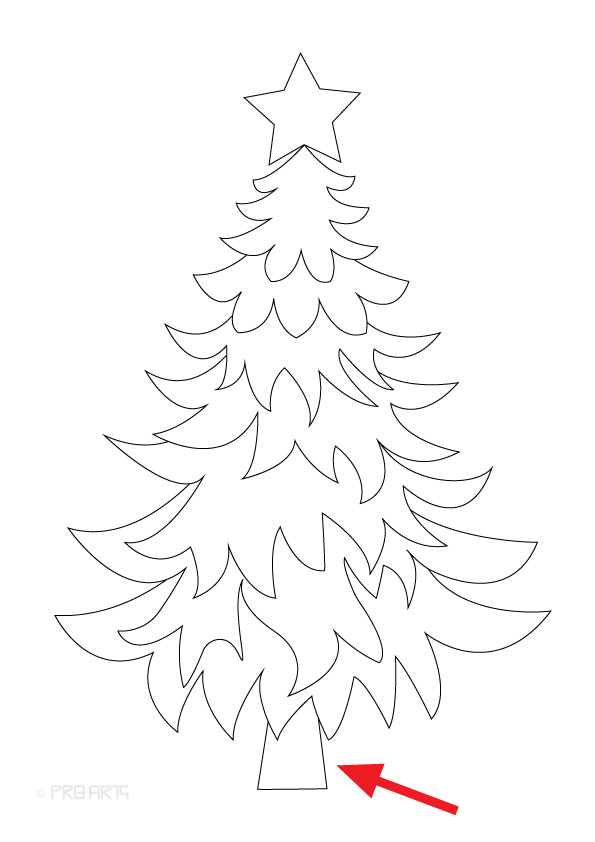
Step 8: Draw a small stem, as shown in the image below.
Step 9: Draw a small circle on the Christmas tree for decoration, as shown in the image below.
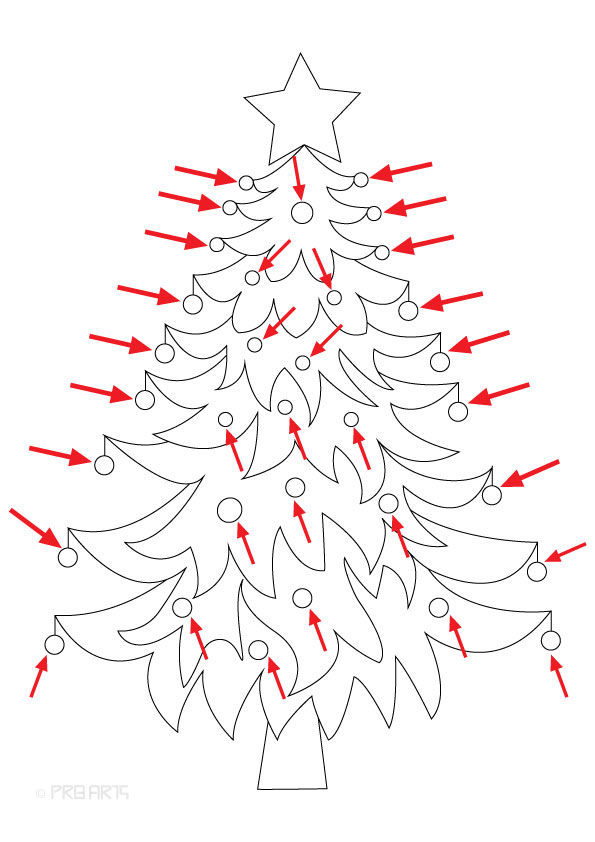
Congratulations, You have successfully drawn this image. Have fun and experiment with painting colours on it.
Hope you like this tutorial, let me know if you have any questions in the comments section below, thank you.