Your cart is currently empty!
How to Draw a White-tailed Deer | Easy Step by Step Guide For Beginners
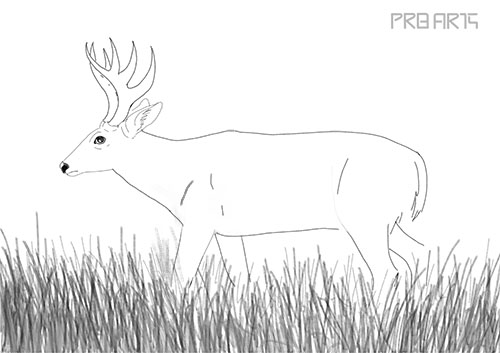
Learn how to draw a white-tailed deer with an easy step by step tutorial guide for beginners.
What You Will Need
An A4 size plain white paper.
A pencil.
An eraser.
This tutorial guide will be helpful for complete beginners to intermediate level users and above 8+ years age group kids.
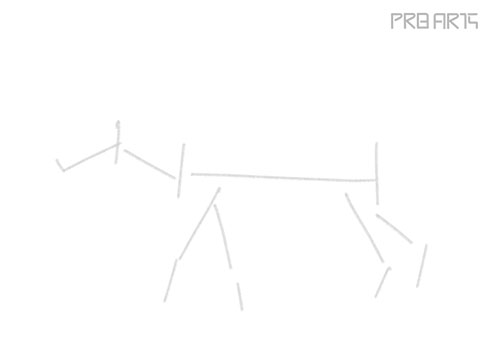
Step 1: Compose the deer anatomy and position or pose with a single outline like in the image below.
Please note, this skeleton outline is very important, so make sure you draw the correct length for head, neck, body length and finally for front and back legs.
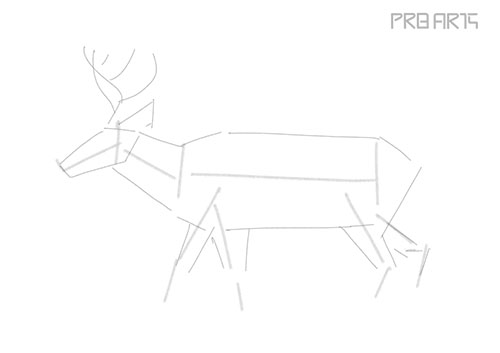
Step 2: Draw the rough outline body shape, make sure you only draw the shapes with straight lines like in the image below and curve shapes for deer horns.
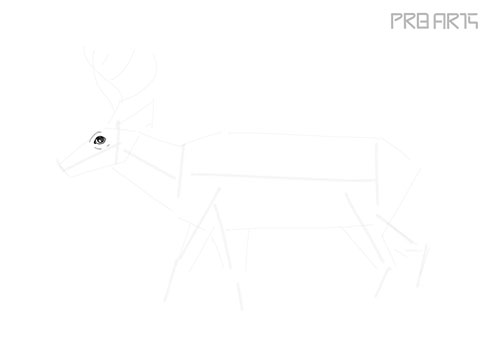
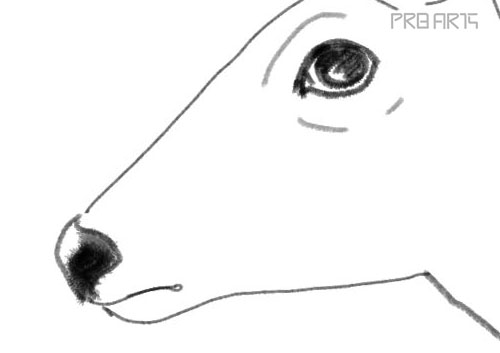
Step 3: Once you complete the above two steps, let’s start the drawing with deer eyes first as shown in the image below.
Step 4: Draw the outline shape of the head and nose like in the image below.
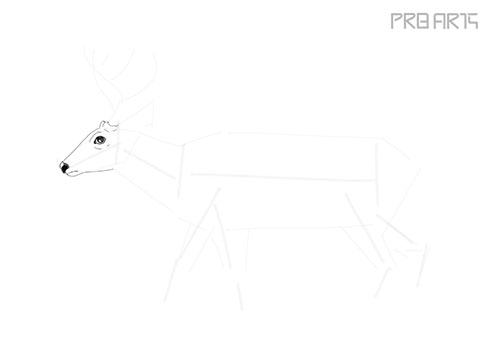
Close-up deer headshot for reference.
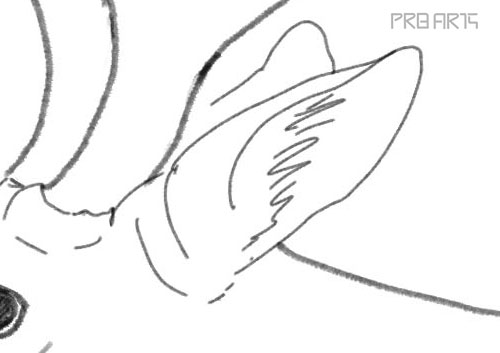
Step 5: Draw the deer ears like in the image below.
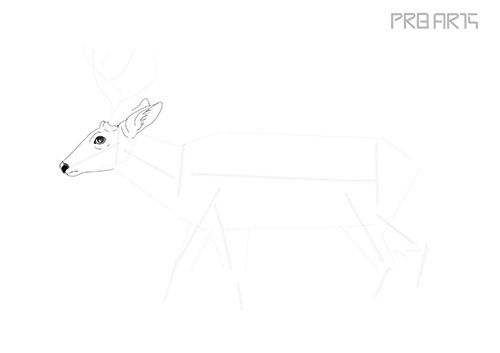
Close-up shot of deer ears for reference.
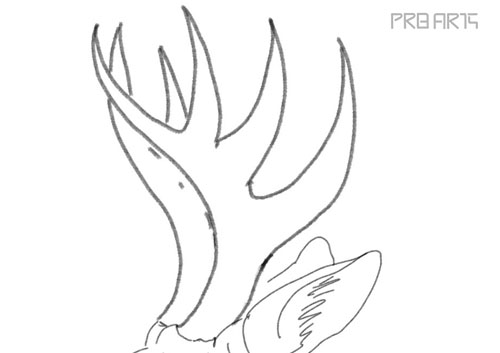
Step 6: Draw the deer horns, as shown in the image below.
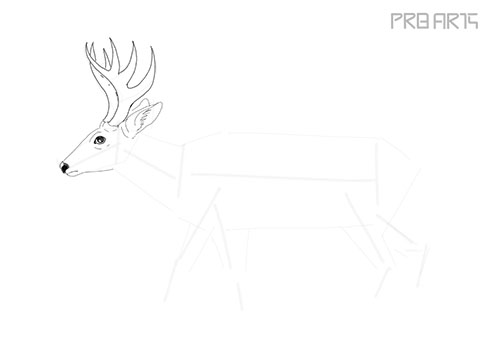
Close-up shot of deer horns.
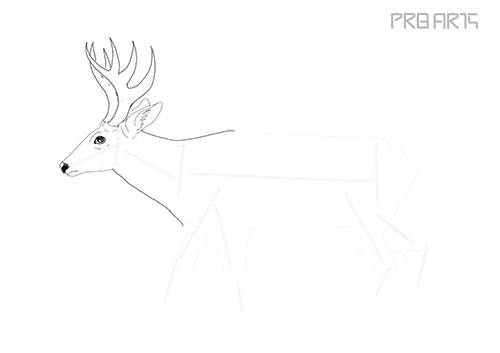
Step 7: Draw the neck part of the deer, as shown in the image below.
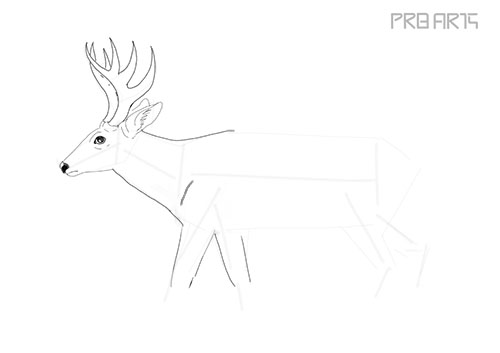
Step 8: Draw the front legs of the whitetail deer, as shown in the image below.
Step 9: Draw the body part of the deer, as shown in the image below.
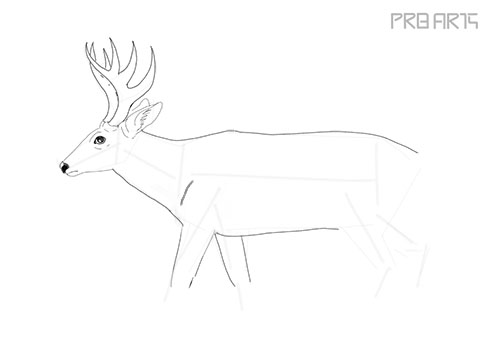
Step 10: Draw the back legs of the deer, as shown in the image below.
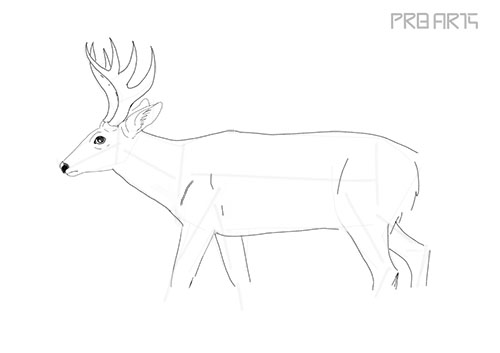
Step 11: Draw the deer tail, as shown in the image below.

Step 12: Draw the grass and erase the skeleton deer sketch and complete the drawing.
Congratulations, You have successfully drawn this image. Have fun and experiment with painting colours on it.
Hope you like this tutorial, let me know if you have any questions in the comments section below, thank you.