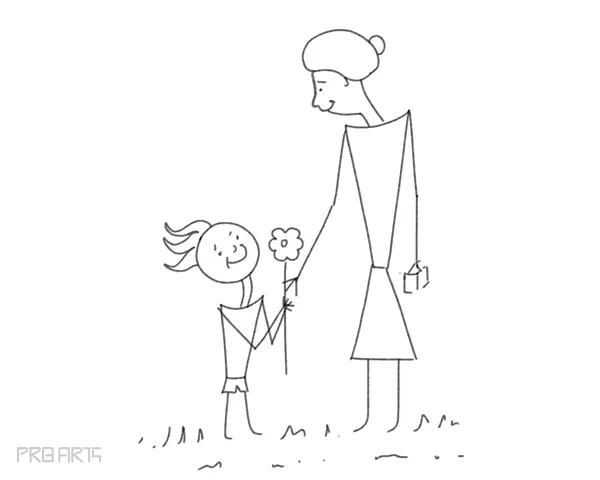
How to draw a mother and son
Learn how to draw and create a gift card for mother – outline mother & son drawing sketch – step by step tutorial guide for beginners.
What You Will Need
- An A4 size plain white paper.
- A pencil.
- An eraser.
Please note: use a light HB pencil to draw all the shapes. Once it is perfect, you can add a second layer with a dark tone. For this tutorial purpose, I’m using the dark outline.
Step 1: Let’s start with mother’s nose
Step 2: Draw a small line
Step 3: Draw a curved line & a small curve at the end like this
Step 4: Draw a curve line
Step 5: Let’s draw the hair outline
Step 6: Draw a curve line
Step 7: Draw a shape like this & complete the hair
Step 8: Draw the neck
Step 9: A small line to complete the neck
Step 10: Draw a small dot for the eye ball
Step 11: Draw the eyebrows
Step 12: Draw the shoulder shape
Step 13: Draw the upper body shape
Step 14: Complete the upper body shape like this
Step 15: Draw the skirt outline
Step 16: Draw a line
Step 17: Complete the skirt
Step 18: Draw the legs like this
Step 19: Let’s start to draw the kid’s head
Step 20: Draw the circle
Step 21: Draw the nose
Step 22: Draw small two dots for eye balls
Step 23: Draw the eyebrows
Step 24: Draw this smiley expression
Step 25: Draw the hair
Step 26: Draw the neck
Step 27: Draw the kid’s shoulder
Step 28: Draw the kid’s upper body
Step 29: Draw a horizontal line
Step 30: Draw the pant shape like this
Step 31: Draw the kid legs
Step 32: Draw the kid right hand
Step 33: Another line to complete the hand
Step 34: Now left-hand arm
Step 35: Complete the left hand
Step 36: Draw a line / flower stem
Step 37: Draw the fingers like this
Step 38: Draw the flowers
Step 39: Now let’s draw the mom right hand arm
Step 40: Complete the right-hand
Step 41: Draw left hand like this ( holding a gift box – optional )
Step 42: Optional – draw a off circle for the hair
Step 43: Draw grasses in the land area
Congratulations! Have fun with coloring
You have successfully drawn this image. You can also keep expressing your creativity for this drawing, and you can do this by adding some extra details and additions. Be sure to have fun and experiment with shading on it as you finish the picture!
There are plenty more guides like this one for you to enjoy on our website, with more on the way soon. You’ll want to keep checking in so that you never miss out!
I hope you like this tutorial. Let me know if you have any questions in the comments section below.
