How to sketch landscape scenery with watercolor
Hello, I’m Ramesh Babu.
This tutorial is designed for watercolor beginners, you can use this method for any watercolor landscape scenery.
Note: You must able to draw freehand sketches to achieve these results.
You can apply this technique directly in spot drawing and painting. Don’t try to paint every detail in the scenery. Think like you are drawing a rough sketch without a pencil instead you are using a brush and colors. This kind of artwork is quick and easy to create on the spot location, you can develop this artwork or alternate the work later.
Quick Tips:
- Don’t try to paint the light and dark shadows in the painting.
- Forgot about the volume.
- Focus on the composition of the subject.
- Try to paint a flat color layer as much as possible.
- Always start the painting from the top of the page.
- There is no layer by layer or second coating in this style of work.
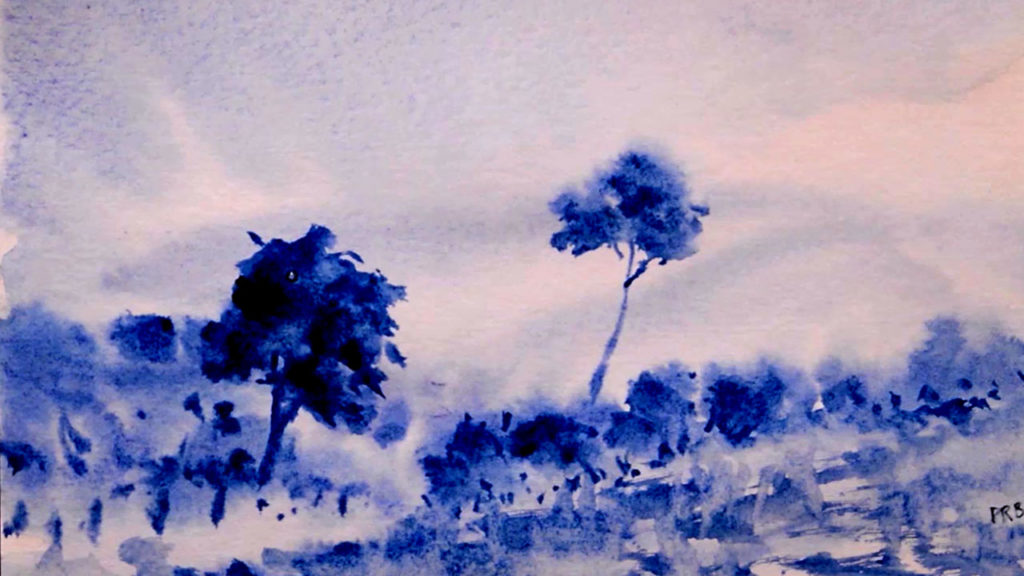
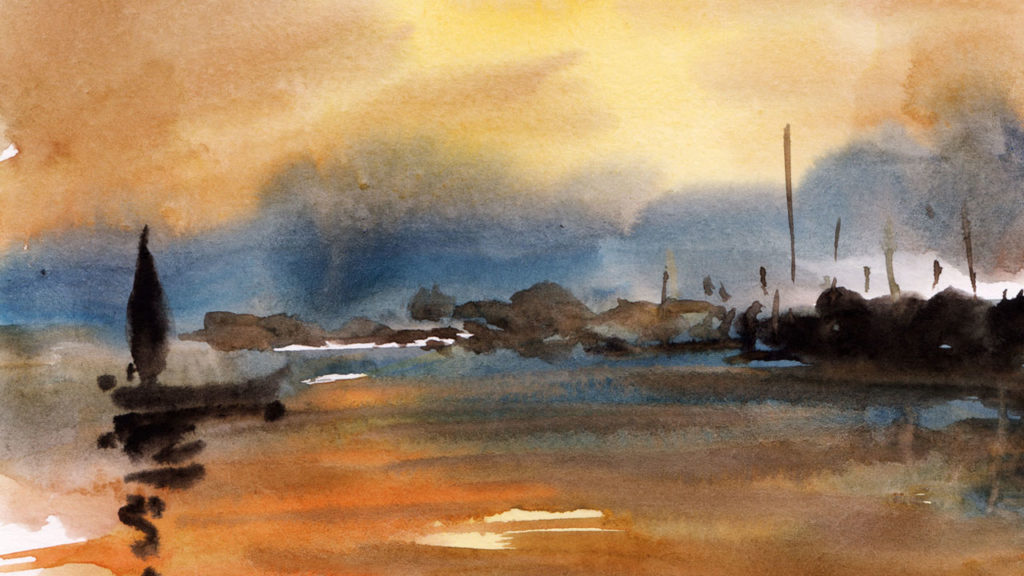
- Try to capture the weather and the mood.
- The long-distance subject must be in blur shape.
- Close-distance subject must be bright and details should be sharp.
- Create the painting as quick as possible, with speed the results will be great.
Watercolor Art Material for Spot Painting
Chat Paper: 300gsm watercolor paper or above will be good for beginners ( I’m using normal chat paper ).
Colors: Burnt Sienna, Yellow Ochre, Orange, Black, Sap Green, and Cobalt Blue.
Brush: Brustro Round No 2.
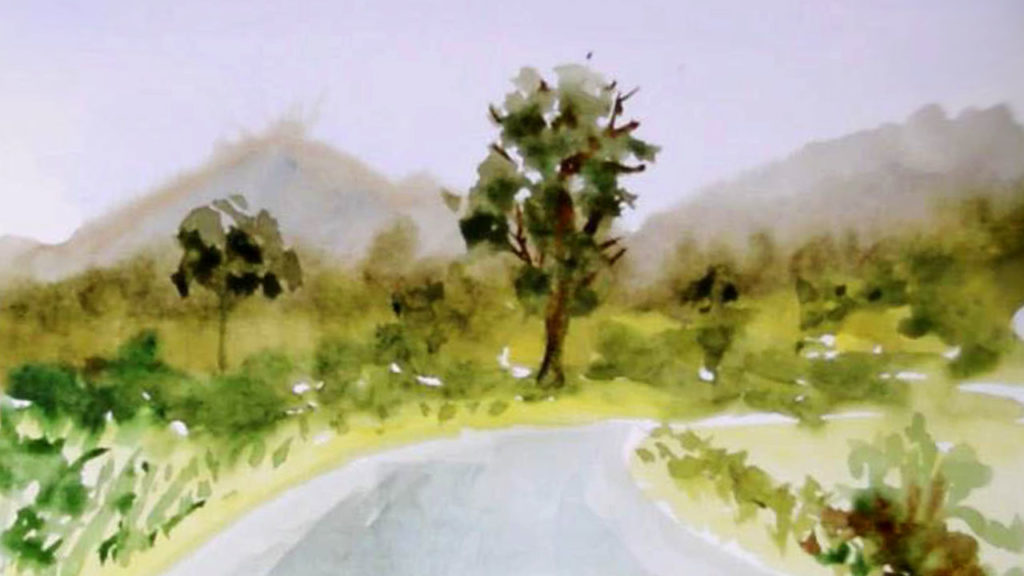
For this tutorial purpose, I choose to paint outdoor scenery with mountains, trees and road.
Step By Step Sketching With Watercolor Landscape Scenery
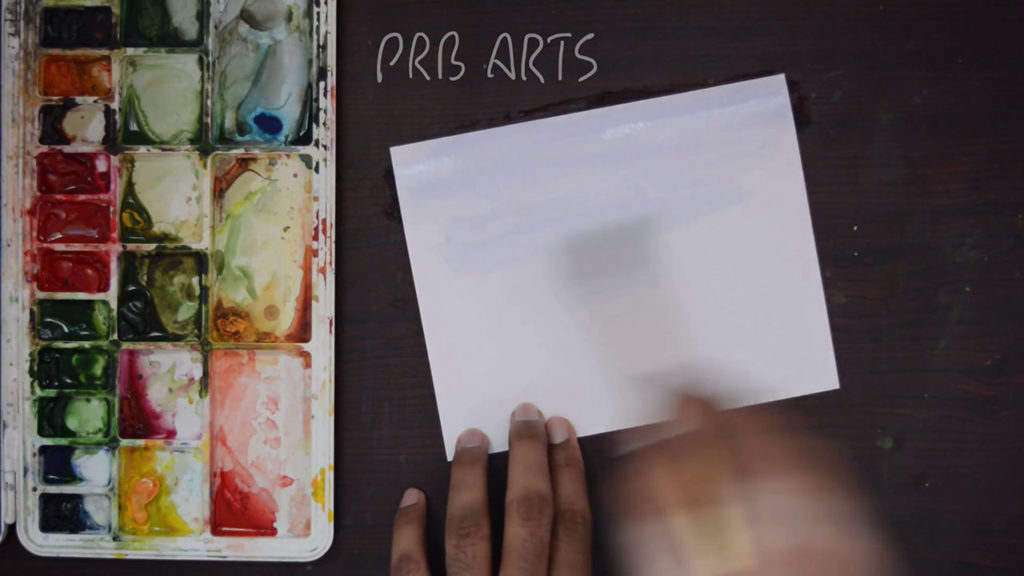
Step 1: Mix cobalt blue and burnt sienna for the background sky area. Paint a light coat of color on the dry paper.
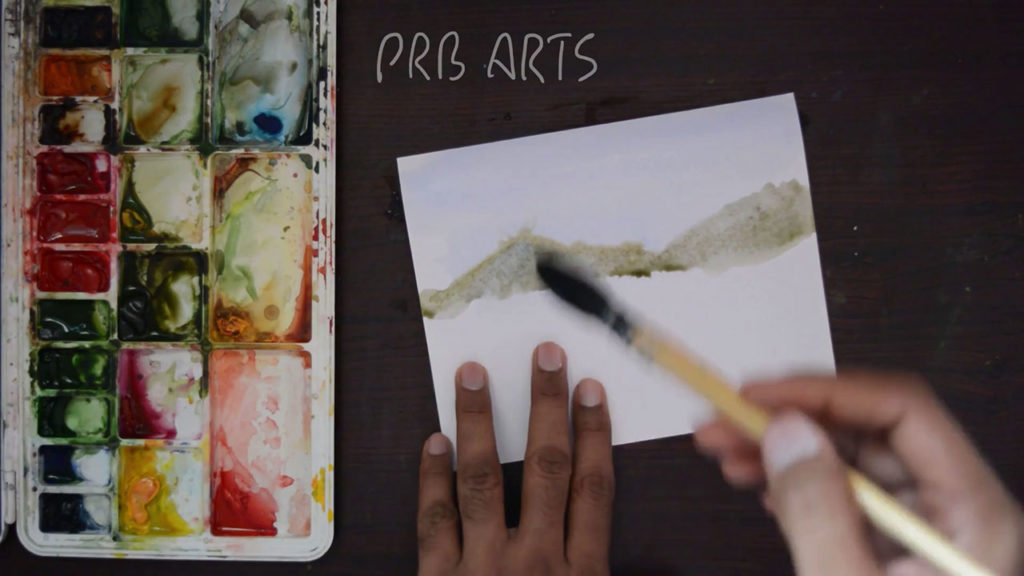
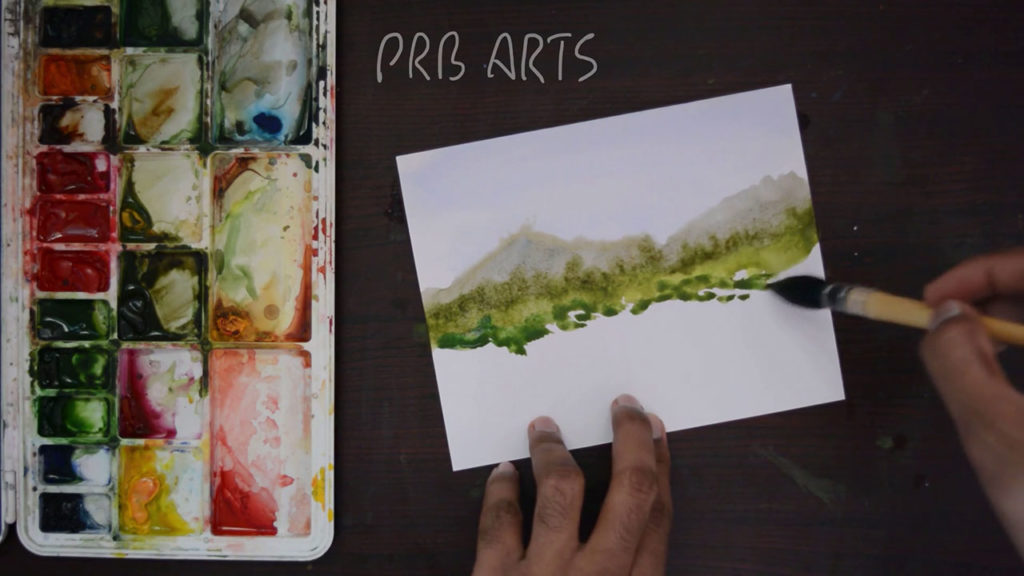
Step 2: Mix sap green, cobalt blue and burnt sienna for the mountains. Paint a flat layer of color for the mountains.
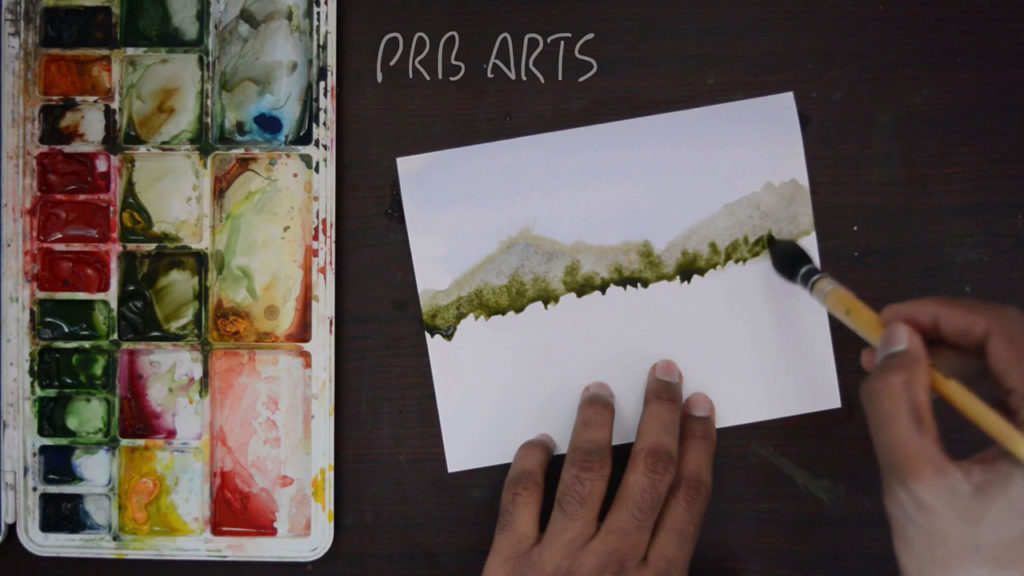
Step 3: Paint sap green color for the long-distance trees as shown in the image.
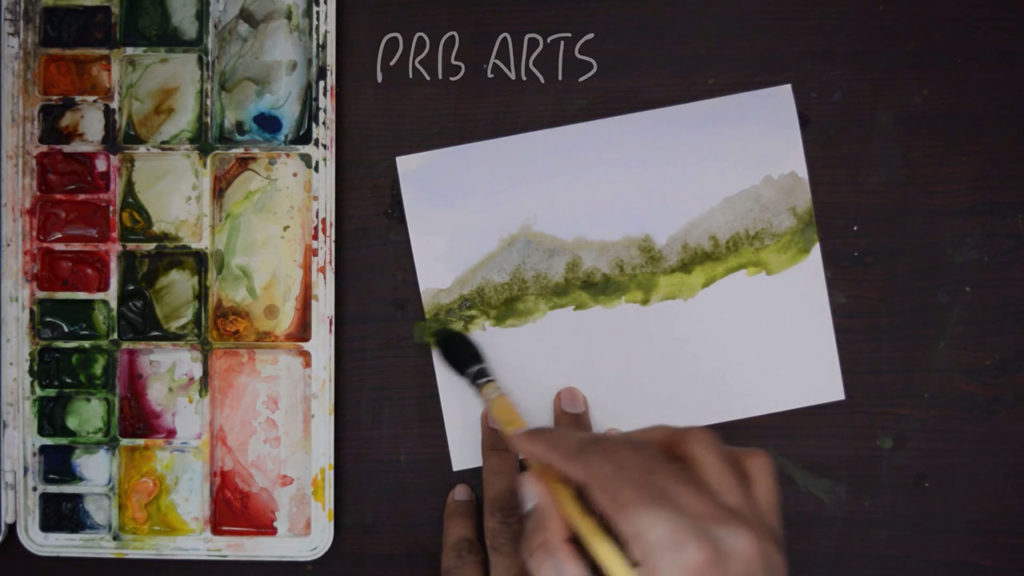
Step 4: Mix yellow to the existing shade and fill the area of the surface.
Step 5: Paint the green color to the existing shade to create the bushes.
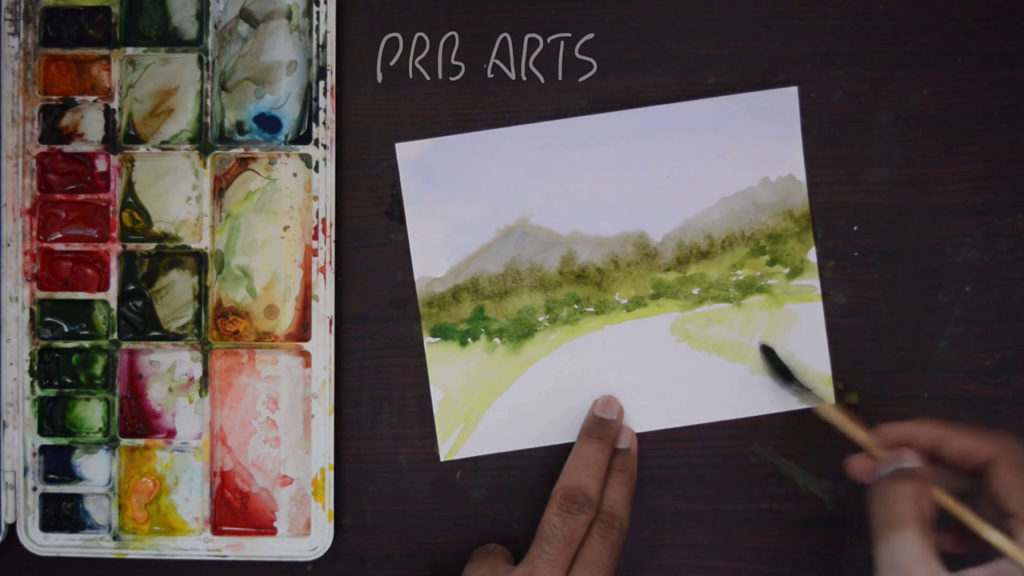
Step 6: Fill the remaining area with a light coat of yellowish-green color.
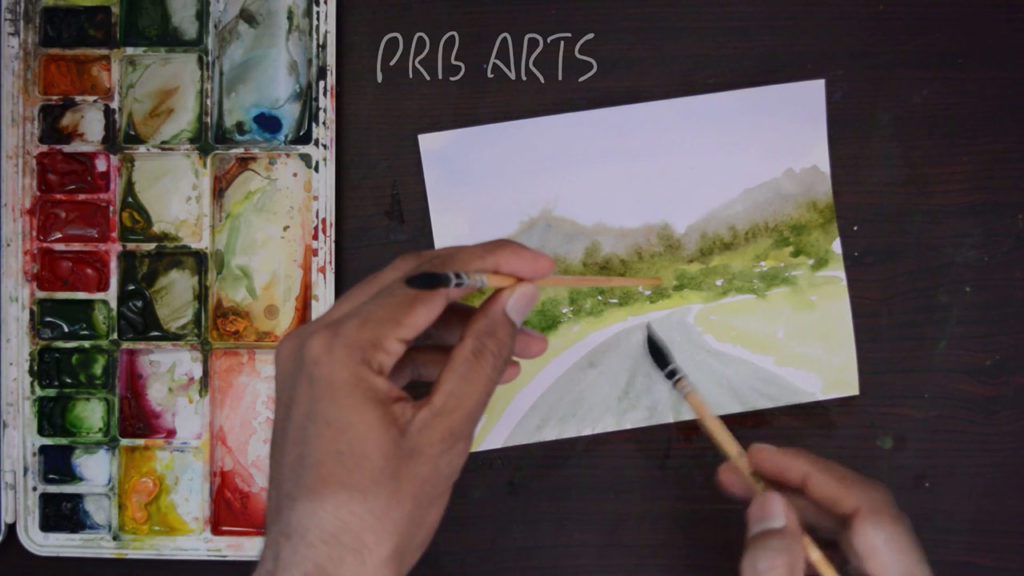
Step 7: Paint a light coat of grey shade for the road area.
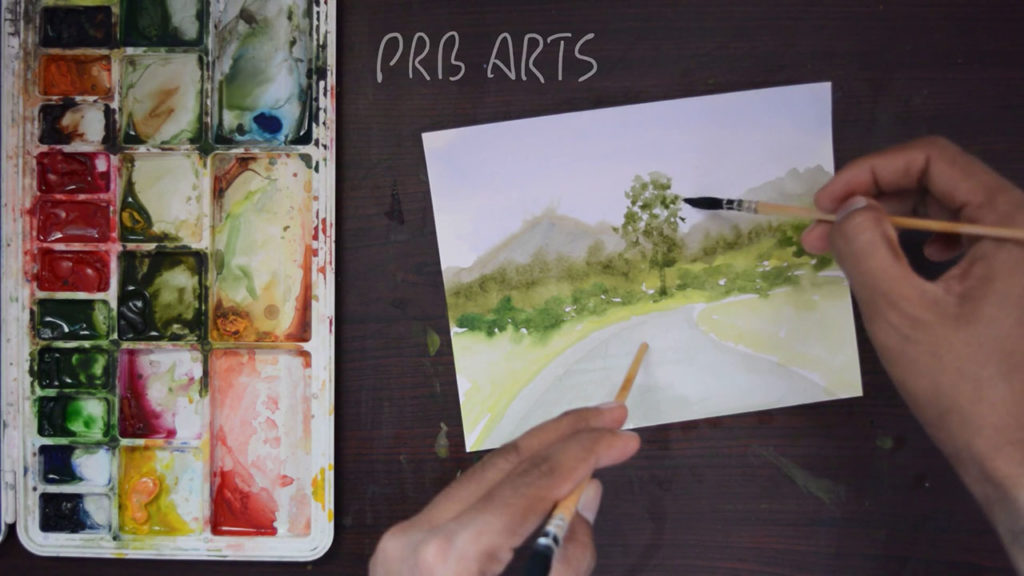
Step 8: Paint the main subject, here it is the tree.
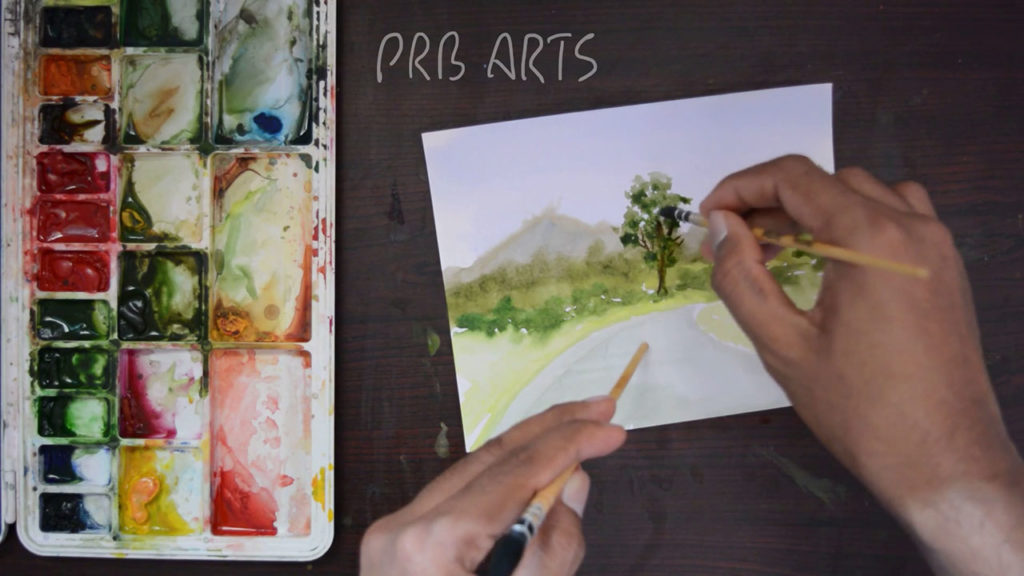
Step 9: Paint with thick colors for the main subject once you are done with the sketch.

Step 10: Paint the remaining second subject like in Step 8 & 9.
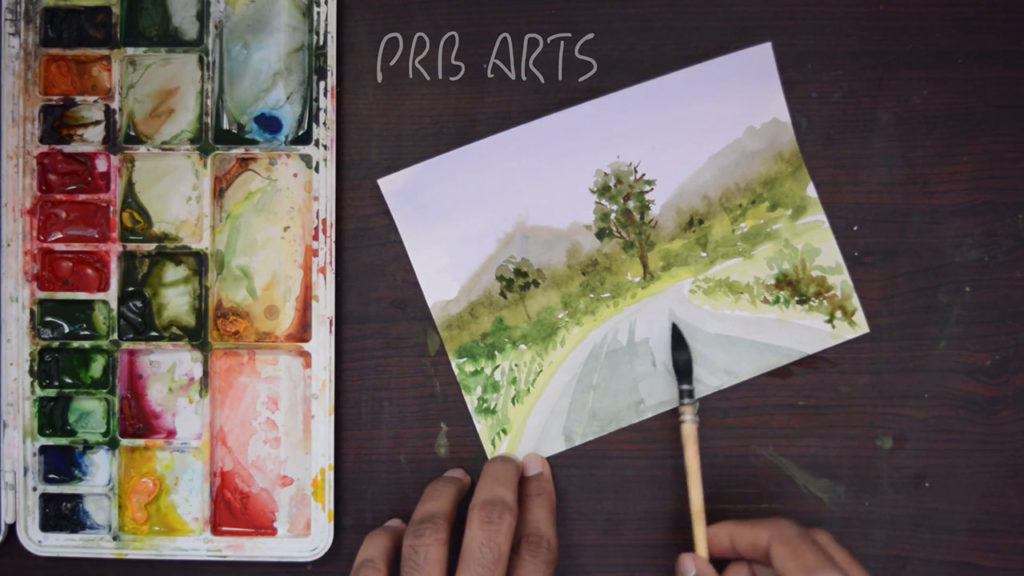
You can add a second coat of paint as a touch-up(optional).
Check this video Sketching with Watercolor Painting for easy understanding.
Hope you like this tutorial, let me know if you have any questions in the comments section below, thank you.