How to draw a rose
What You Will Need
- An A4 size plain white paper.
- A pencil.
- An eraser.
Please note: use a light HB pencil to draw all the shapes. Once it is perfect, you can add a second layer with a dark tone. For this tutorial purpose, I’m using the dark outline.
Time needed: 5 minutes
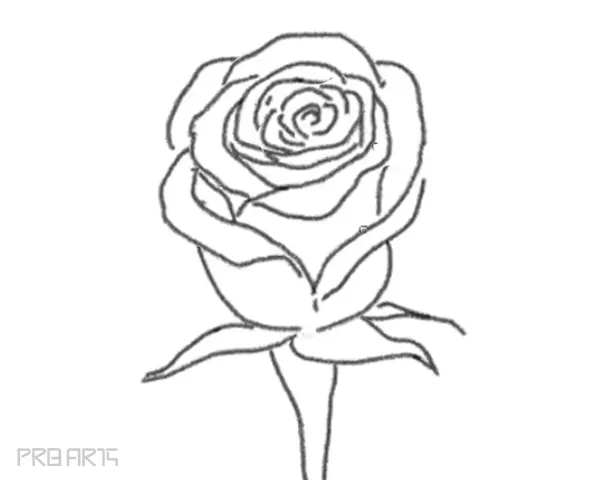
Learn how to draw a rose – outline rose flower drawing sketch – step by step tutorial guide for beginners.
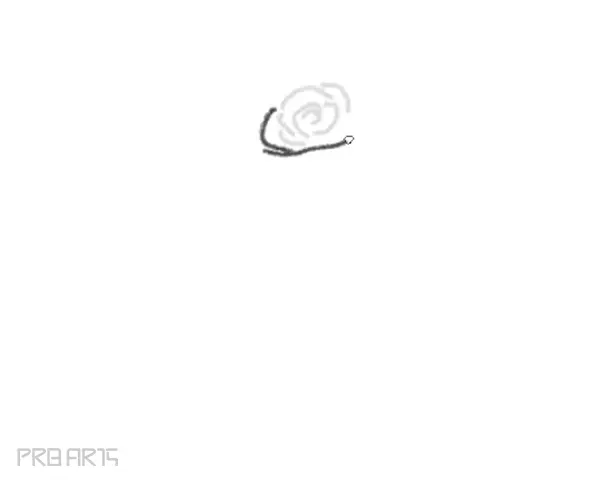
- Draw the center part of the rose flower
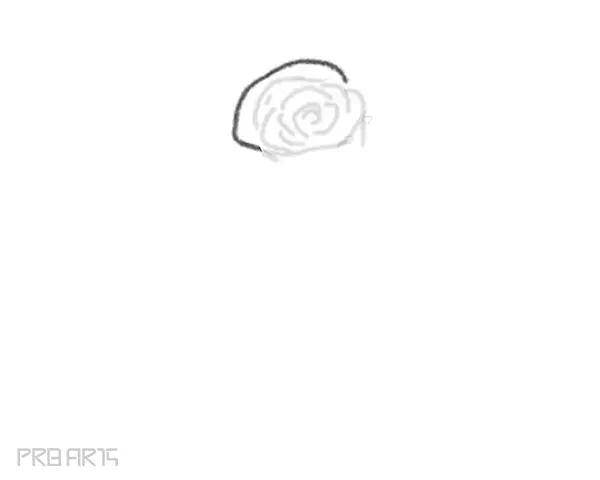
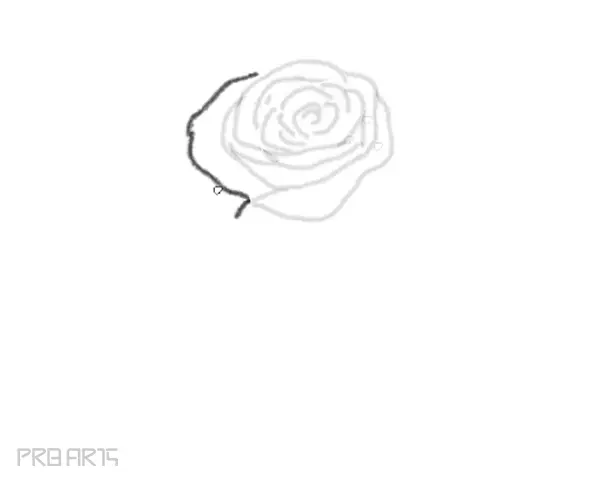
Draw a off circle curved shape letter like c


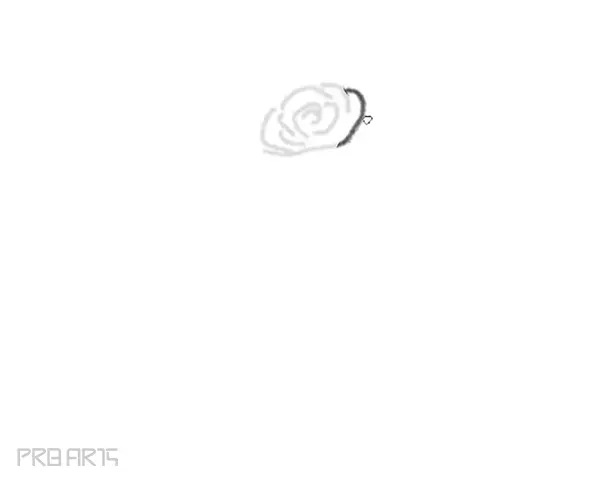
- The center part of the rose will always be in a circle or oval shape
Draw a curve line like this or inverted c shape

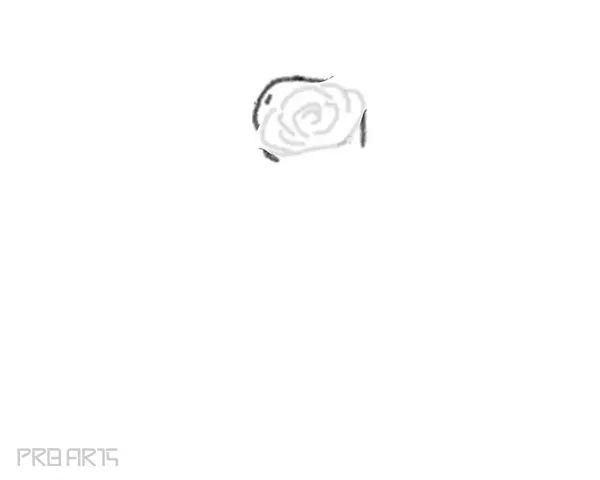
- Draw rose petals layer by layer
Draw a curve line & attach both ends to the rose petals

- Let’s start to add more petals & make flower thicker in size
Draw another curve line like in the image below

- Rose petals shapes are always in curve shapes
Draw two curve line like this

- Adding more petals of rose is always fun to draw
Another c shape curved line
- More curve lines in a pattern like this will create a stunning rose flower
All these curved lines will create the rose petals shape layer by layer
- Drawing the curved line in random places or use your creativity & take the full freedom to draw
Draw curved lines here & there
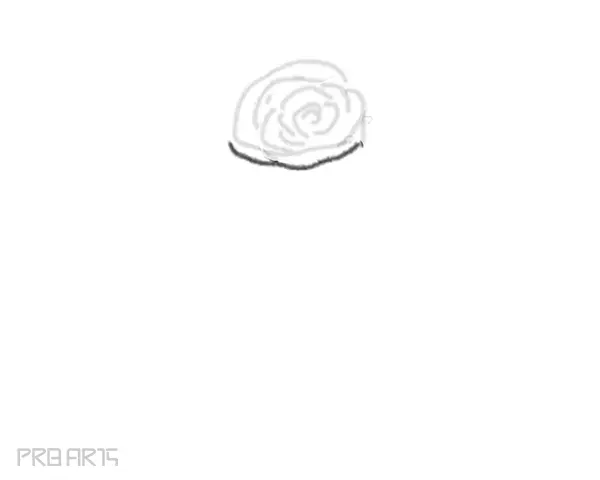
- Drawing big size petals for the outer layer of rose
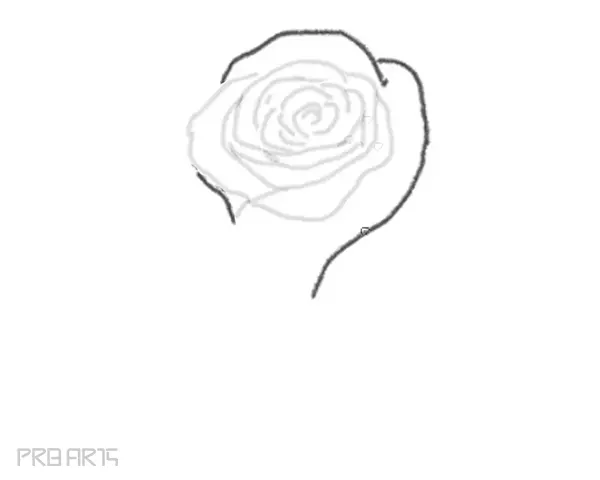
Draw a big curved line on one side
- Rose drawing is all about the curved lines & arranging those lines in a pattern
Another curved line on bottom side
- All outer side of the rose flower will have the big size petals
Once there is a balance in the shape you can start to draw big petals like this
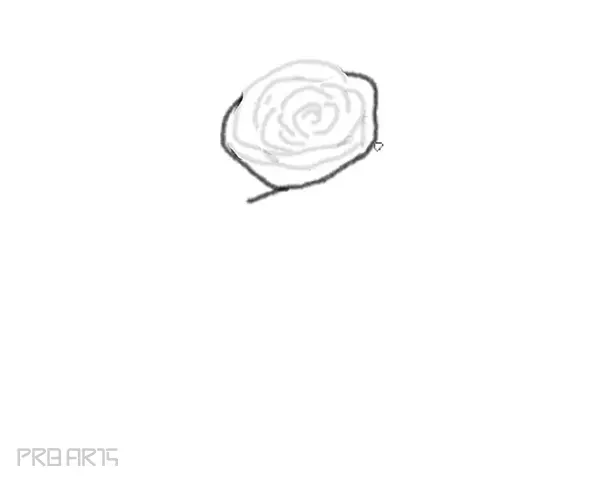
- Petal folds in the rose flower is the real beauty to draw
Draw the outer layer of the rose petals, which looks like the petals folds
- Drawing a perfect line is not recommended
All shapes must be organic no perfect lines
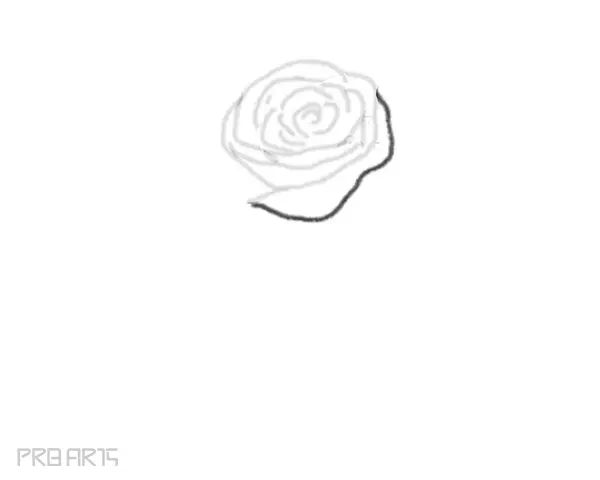
- Drawing more petals to the rose will create a bigger size flower
Add more petals to create a big rose flower
- Draw lines towards the bottom side
Lets finish the rose by closing the one end of the petal in the bottom area
- Draw final petal folding shapes
Draw the outside folding petal shape
- Draw or fill the gaps
Draw some petals if there is any gap
- Outer shape of the rose flower
Draw the rose flower outer shape like in the image below
- Draw rose flower outer shapes
Complete the rose flower outer shapes like in the image below
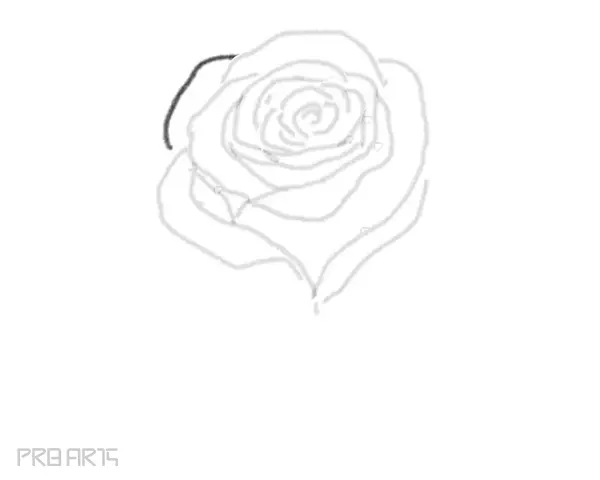
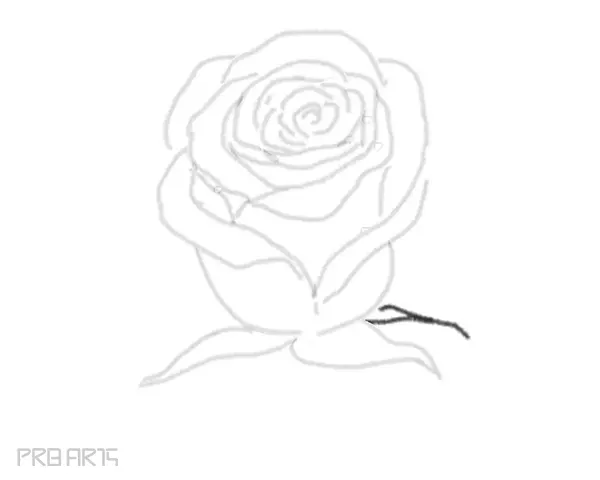
- Let’s start to draw the rose flower sepal
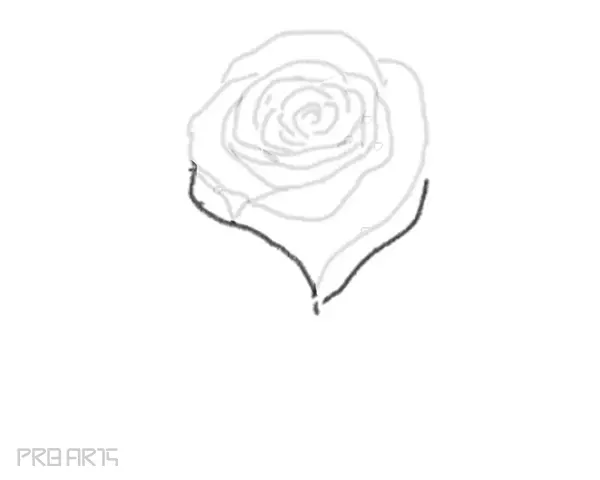
Step 20: Draw the rose flower sepal
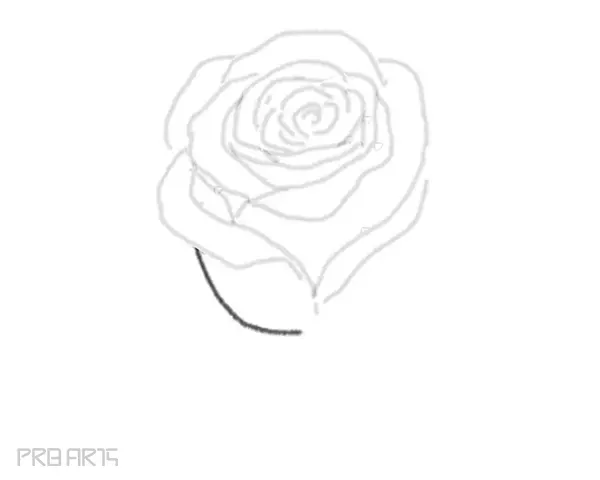
- Shape & size of the second sepal
Draw the second sepal, it is ok to change the size and shape little bit according to its angle
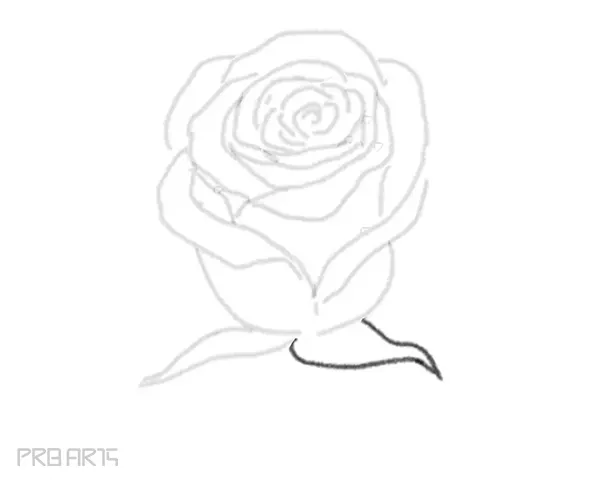
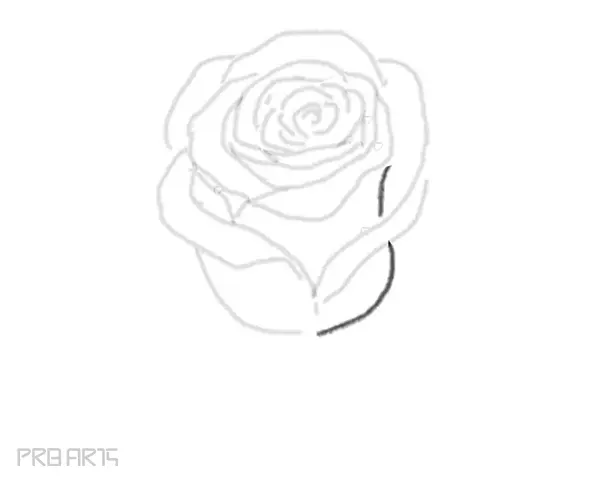
- Third sepal drawing
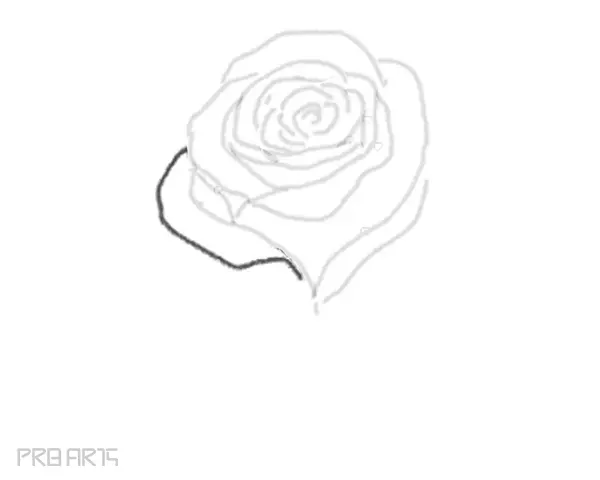
Draw the third sepal like in the image below
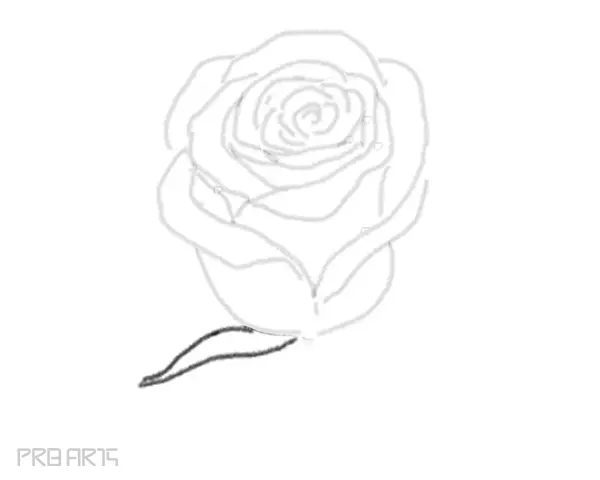
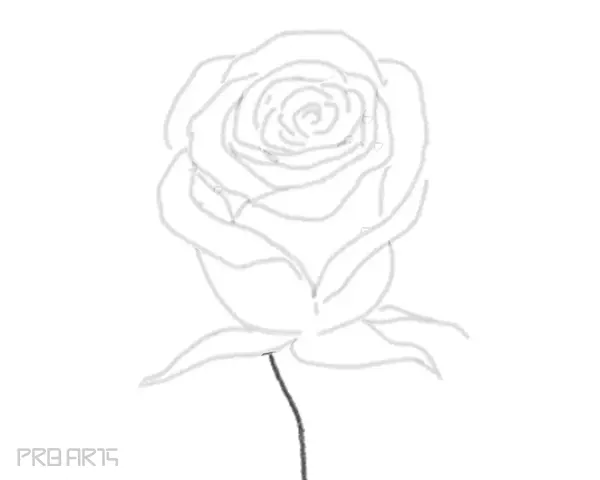
- Rose flower stem drawing
Drawing the rose stem/stalk, draw a line like this
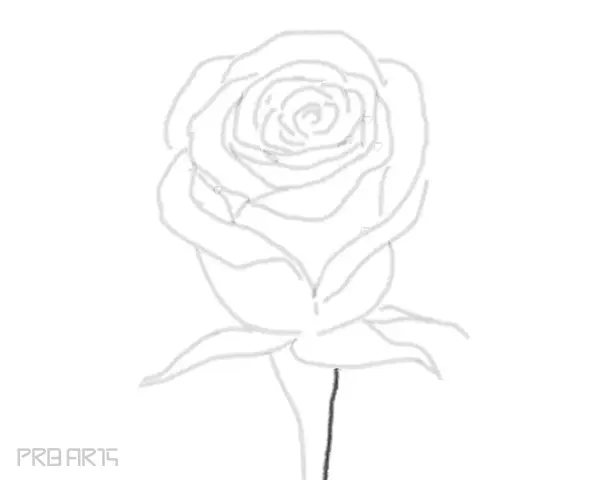
- Rose stem final step
Complete the stem by drawing another line like this
Congratulations! Have fun with coloring
You have successfully drawn this image. You can also keep expressing your creativity for this drawing, and you can do this by adding some extra details and additions. Be sure to have fun and experiment with shading on it as you finish the picture!
There are plenty more guides like this one for you to enjoy on our website, with more on the way soon. You’ll want to keep checking in so that you never miss out!
I hope you like this tutorial. Let me know if you have any questions in the comments section below.