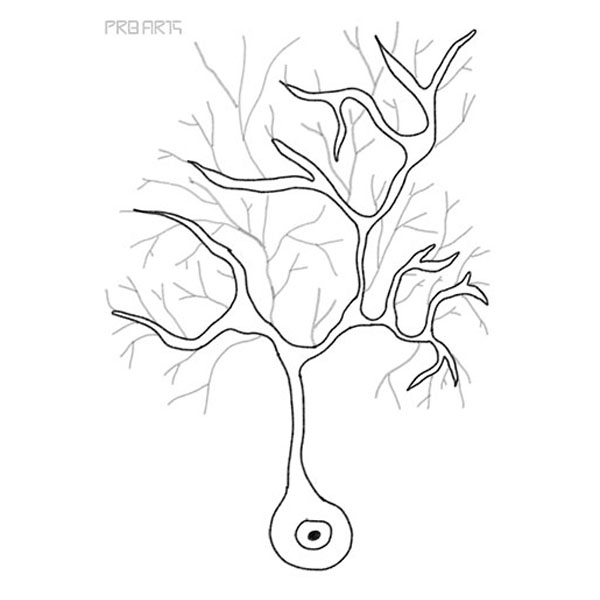
How to draw a neuron or nerve cell (Purkinje nerve cell)
Learn how to draw a Purkinje nerve cell or neuron anatomy structure outline drawing step-by-step tutorial guide for science students.
What You Will Need
- An A4 size plain white paper.
- A pencil.
- An eraser.
You can download the high-resolution Nerve drawing sketch for your school projects & also available for commercial usage on the web, YouTube. Print is only allowed for personal use.
Please note: use a light HB pencil to draw all the shapes. Once it is perfect, you can add a second layer with a dark tone. For this tutorial purpose, I’m using the dark outline.
Step 1: Draw a circle with the opened area at the top.
Step 2: Draw the two curved parallel lines like in the image below.
Step 3: Start to draw the nerve root like in the image below.
Step 4: Complete the nerve root like in the image below.
Step 5: Add the small root structure to the main root.
Step 6: Draw the small circle and black dot inside that circle.
Step 7: Erase any dirty lines and add a dark tone to the Purkinje nerve cell drawing.
Your Purkinje Nerve Cell Anatomy Drawing is Complete!
Congratulations, You have successfully drawn this image. You can also keep expressing your creativity for this drawing, and you can do this by adding some extra details and additions. Be sure to have fun and experiment with shading on it as you finish the picture!
There are plenty more guides like this one for you to enjoy on our website, with more on the way soon. You’ll want to keep checking in so that you never miss out!
I would love to see your final drawings of this nerve cell.
Please share it on our forums!
I hope you like this tutorial. Let me know if you have any questions in the comments section below.
