Easy watercolor landscape painting for beginners
Hello, I’m Ramesh Babu.
This tutorial is designed for watercolor beginners, you can use this method for any watercolor landscape scenery.
Quick Tips:
Try to paint single brush strokes and don’t go for details.
Once you understand how to control the watercolor medium, then you can add details layer by layer.
Always start with the light tone and then go for the dark color tone.
Try to avoid the black color in the early stage of the painting.
Don’t use too much water, it will be harder to control.
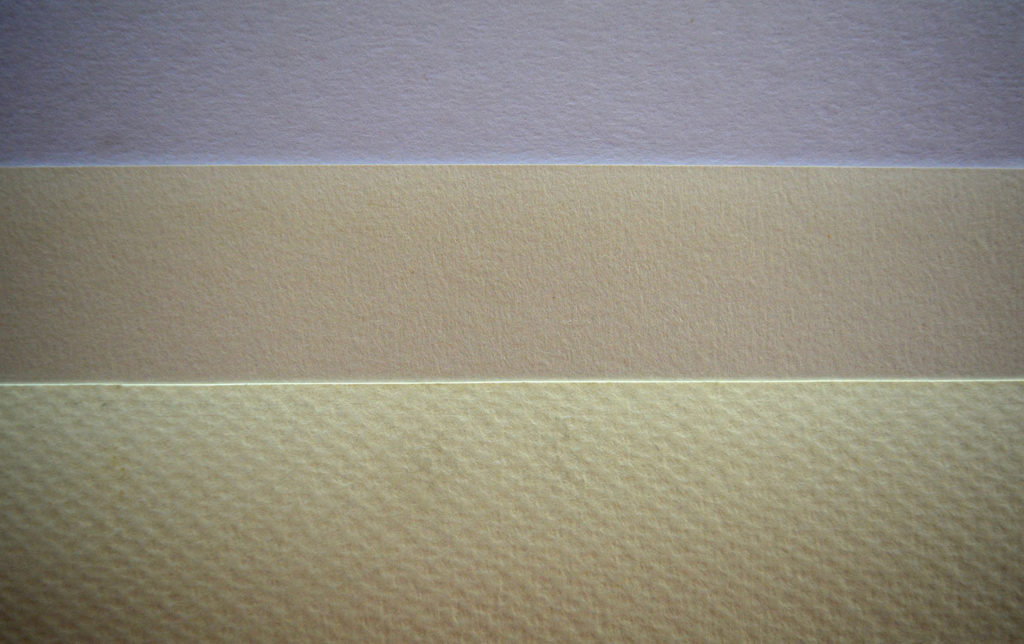
Use at least 300gsm watercolor paper.
If you are a beginner, please sketch the scene with a pencil first, then start the watercolor painting process.
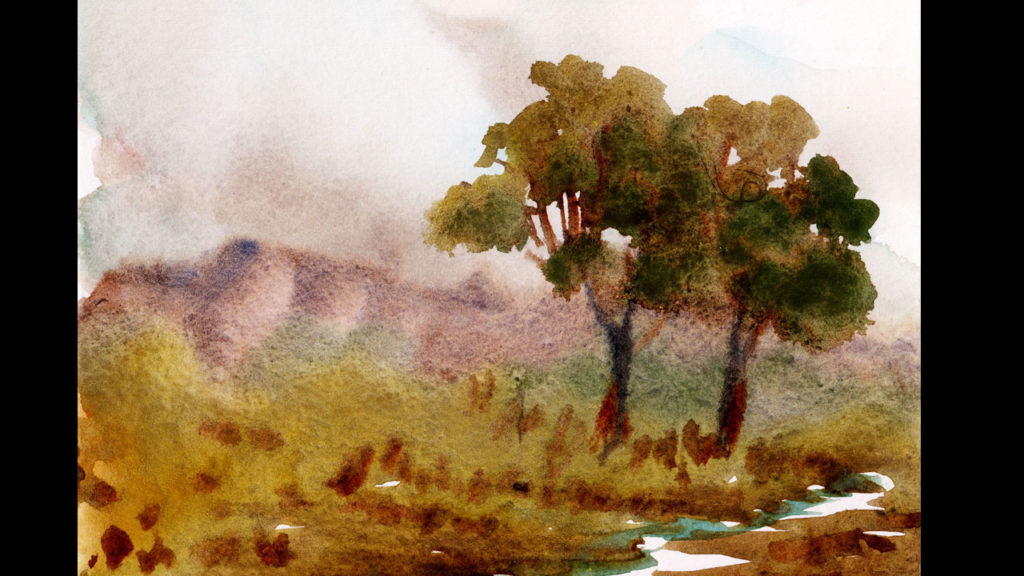
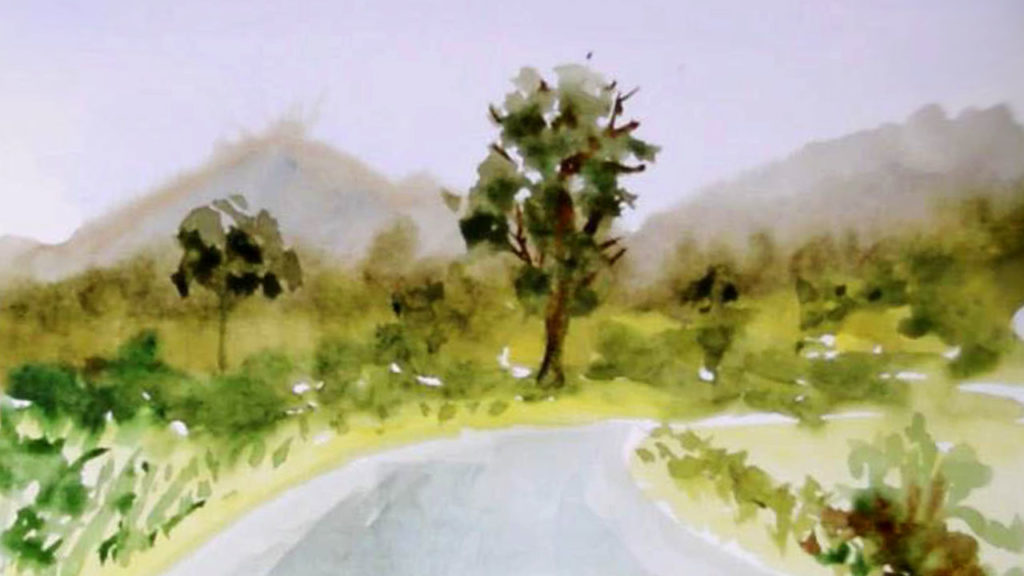
In this example, I’m painting a simple and easy landscape watercolor scenery with mountains in the background and two trees and a small water canal, let’s start…
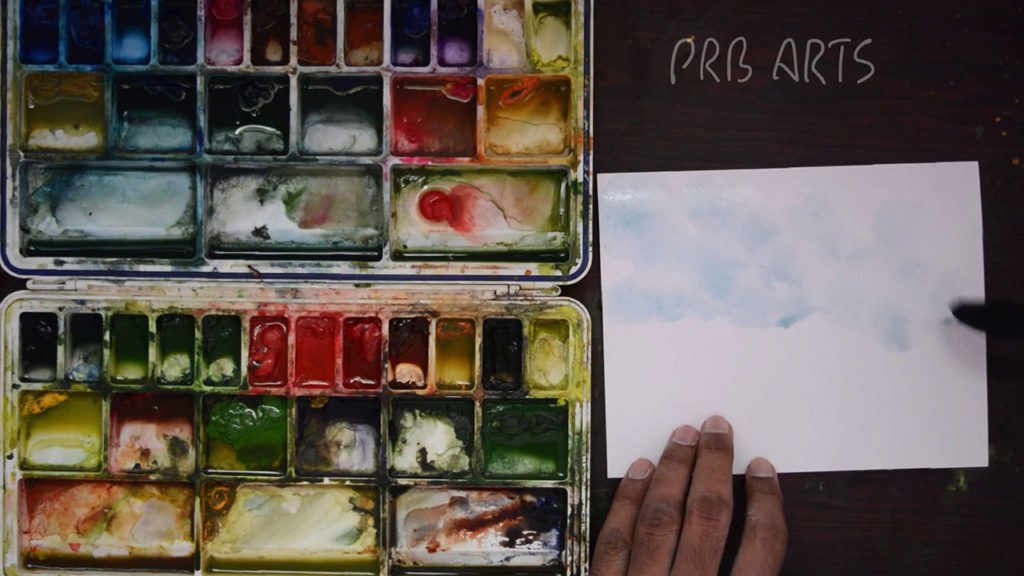
Step 1: Wet your watercolor chat paper with diluted cobalt blue color for the background sky.
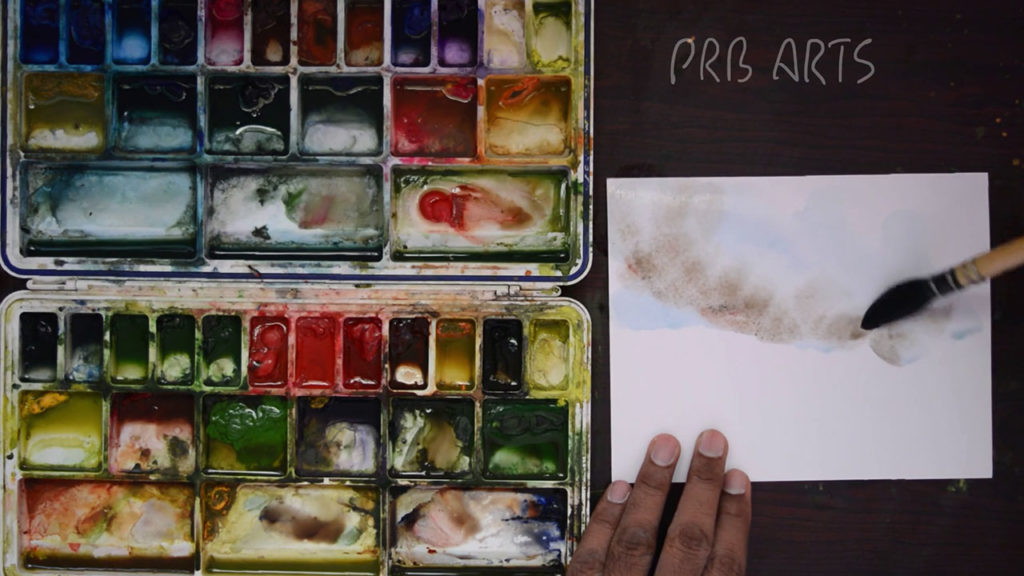
Step 2: Paint a diluted burnt sienna paint where the sky touches the ground.
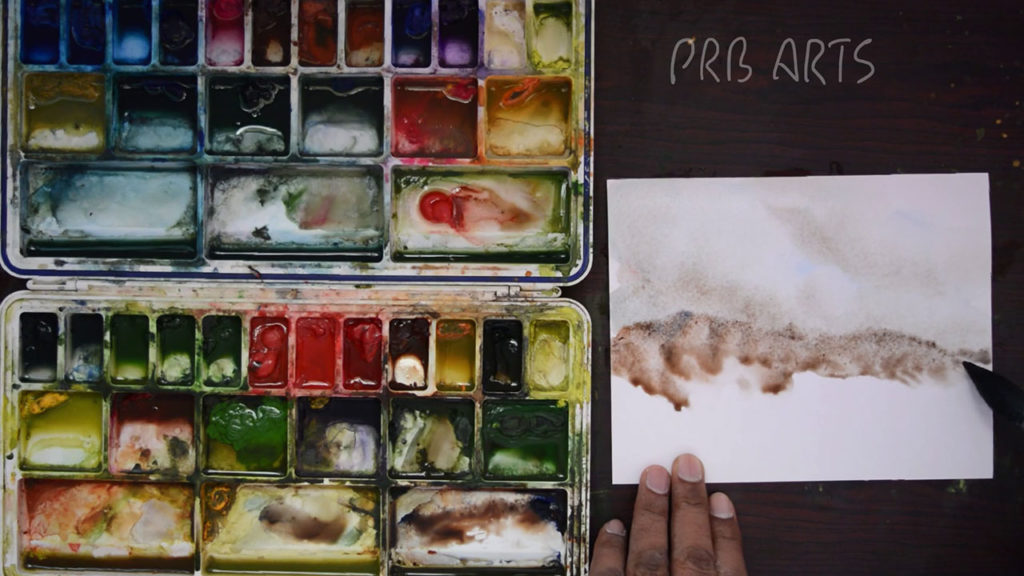
Step 3: Mix 20% of cobalt blue and 80% of burnt sienna paint and paint the mountains with the diluted paint.
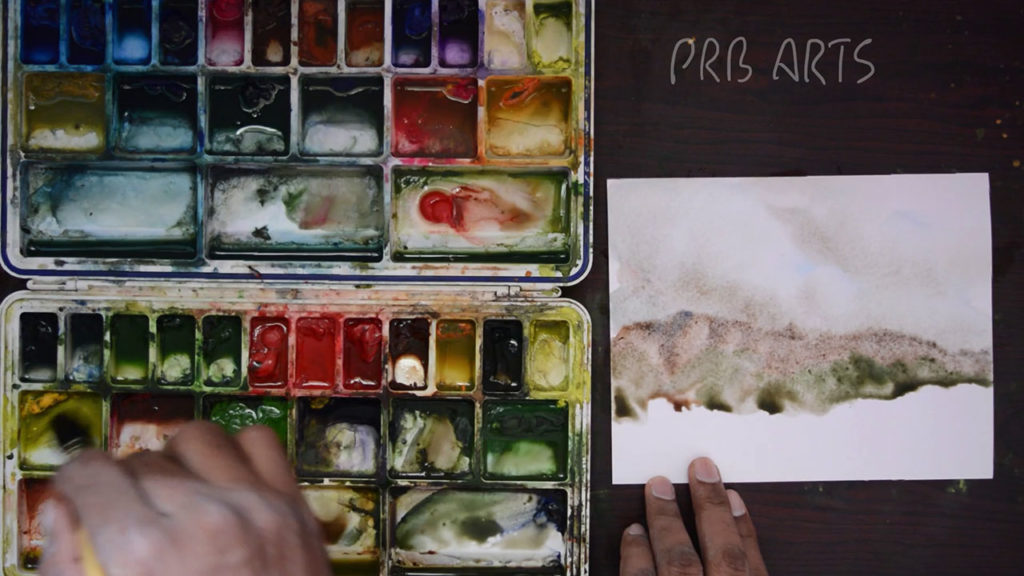
Step 4: Paint sap green color where the mountain touches the ground. It will create an illusion of greenery plants in the long distance.
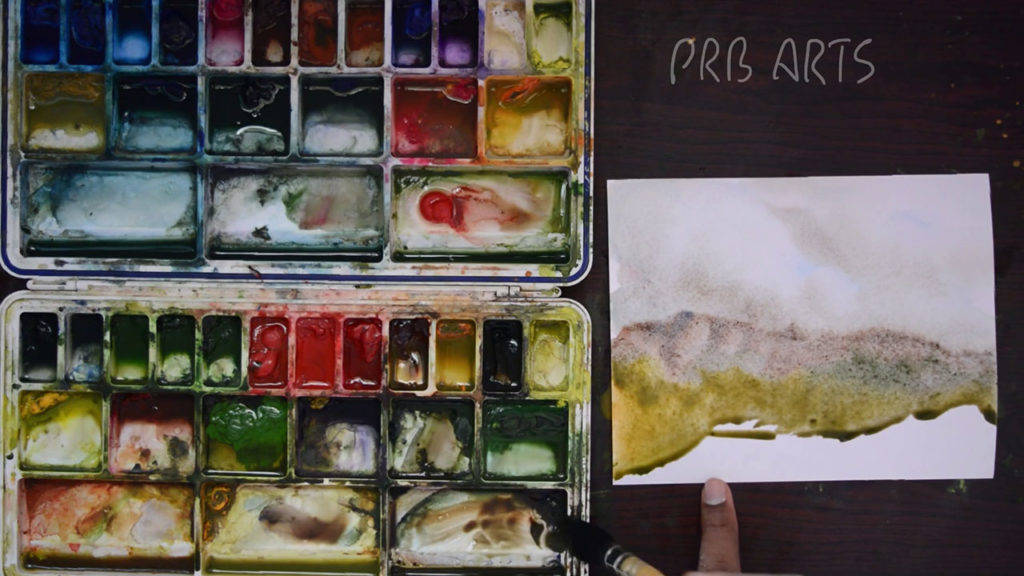
Step 5: Mix sap green, yellow ochre and paint the area where you want all the greenery plants in the close distance area.
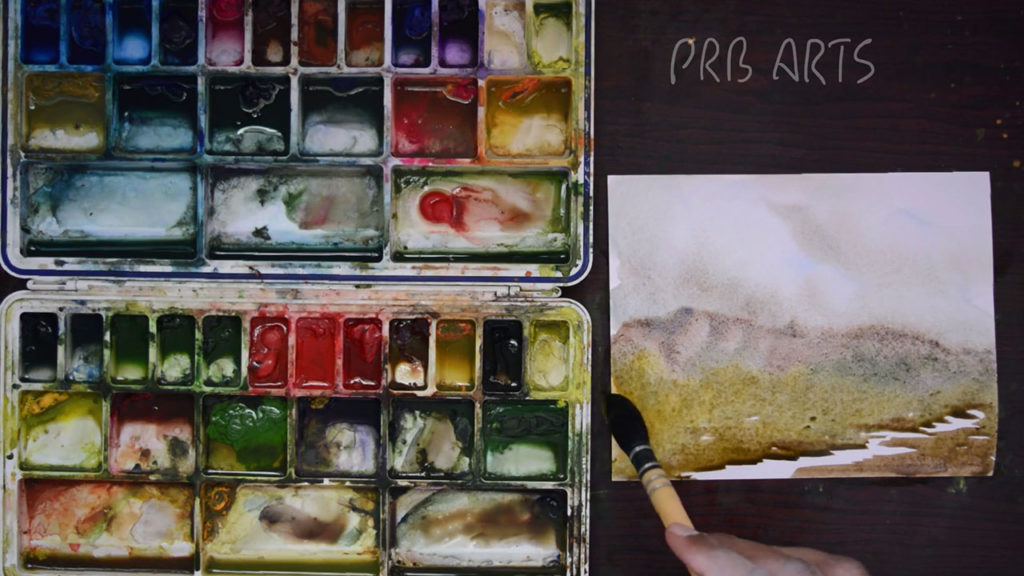
Step 6: Paint burnt sienna color for the mud area, I’m leaving some space for the water canal as shown in the image above.
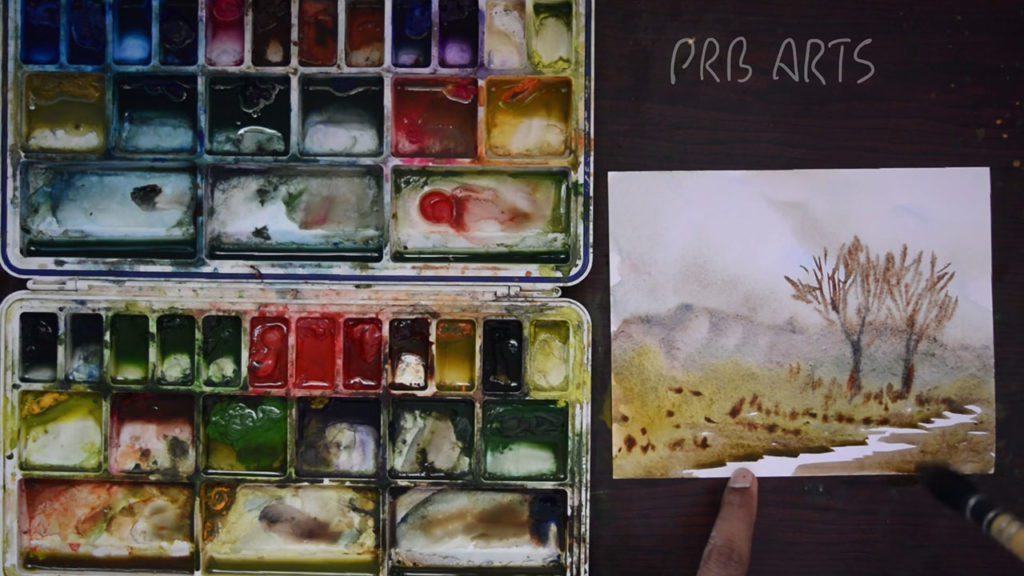
Step 7: Draw simple trees with your brush, each brushstroke is very important.
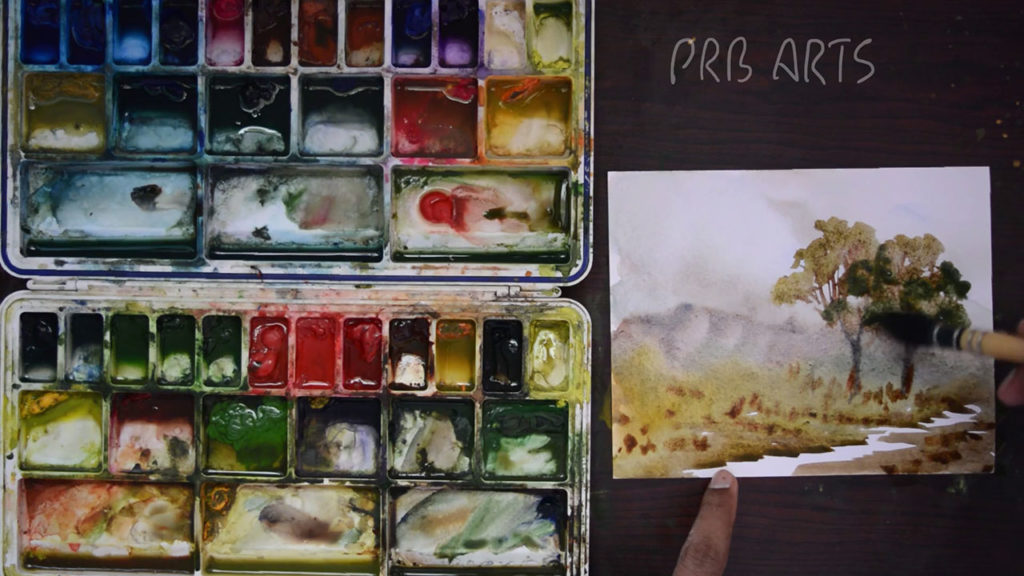
Step 8: Paint the tree leaves with the same color as you used for the greenery.
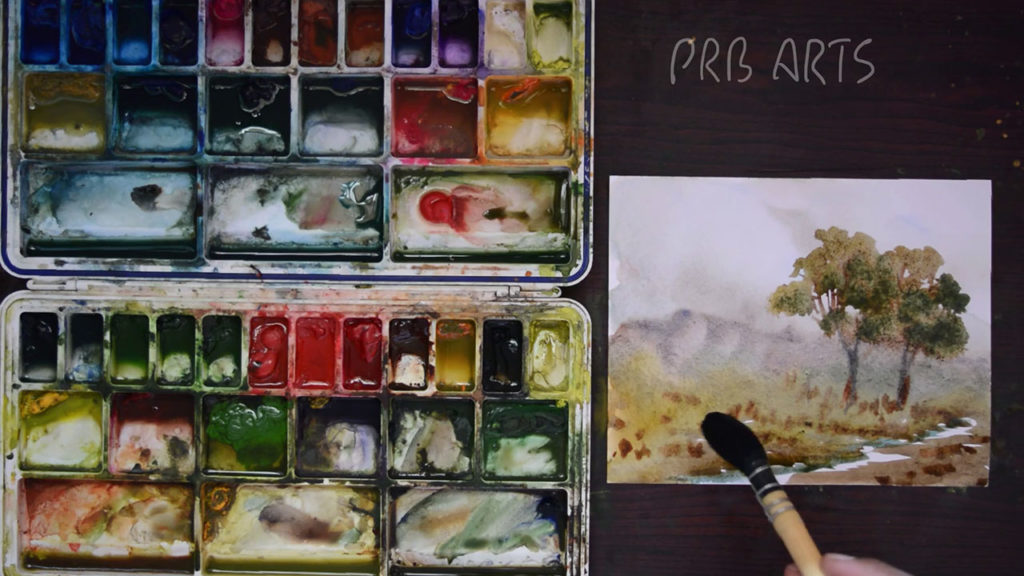
Step 9: Paint the depth details where it is necessary.
Please check out the video tutorial for easy understanding.
Hope you like this tutorial, let me know if you have any questions in the comments section below, thank you.
Excellent tutorials!
Thank you M Khandke