How to draw an apple
Learn how to draw an apple – outline apple drawing sketch – step by step tutorial guide for beginners.
What You Will Need
- An A4 size plain white paper.
- A pencil.
- An eraser.
Please note: use a light HB pencil to draw all the shapes. Once it is perfect, you can add a second layer with a dark tone. For this tutorial purpose, I’m using the dark outline.
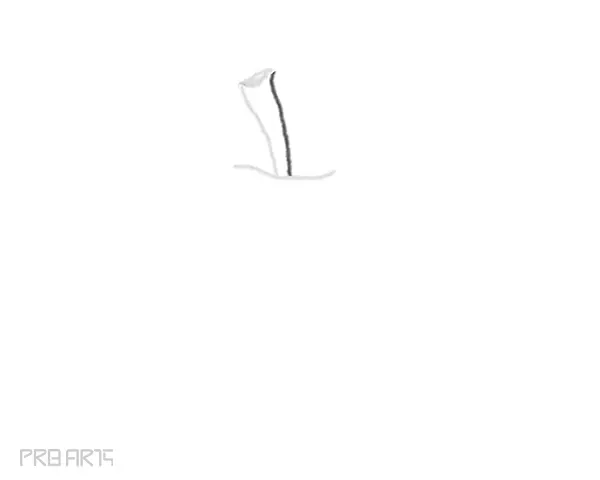
Step 1: Draw a curve line

Step 2: Draw the apple stem line

Step 3: Draw an oval shape and fill the dark color it will look like the apple stem is sealed

Step 4: Draw another line and complete the apple stem
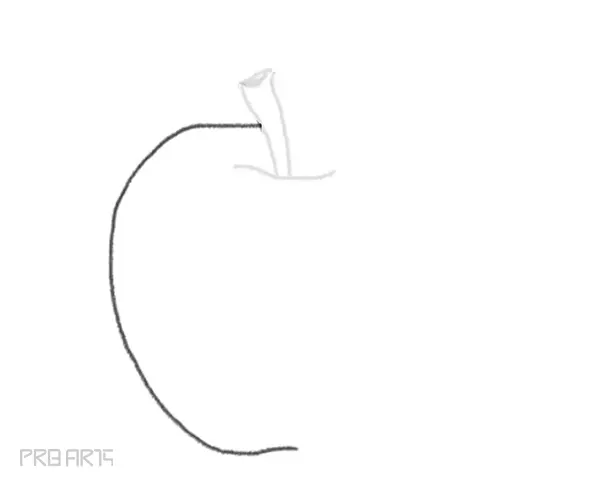
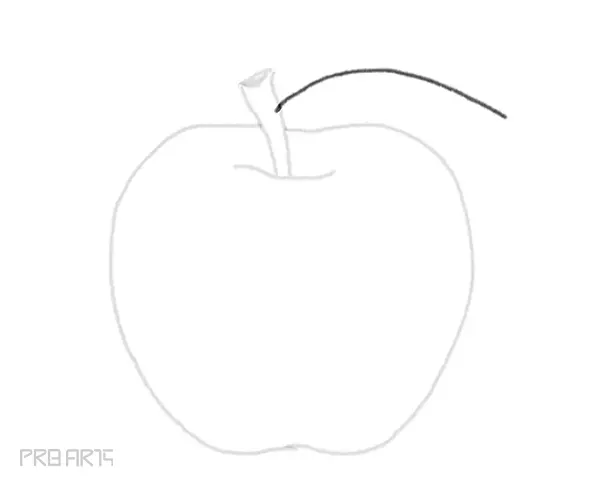
Step 5: Draw a curve or c shaped letter to create the apple skin
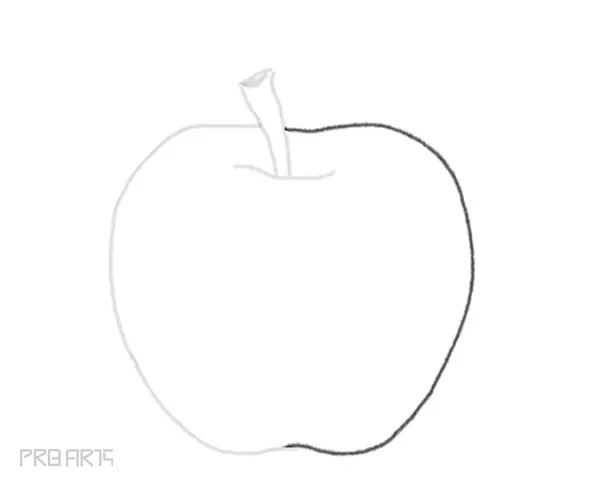
Step 6: Draw an inverted c shaped letter and complete the apple skin
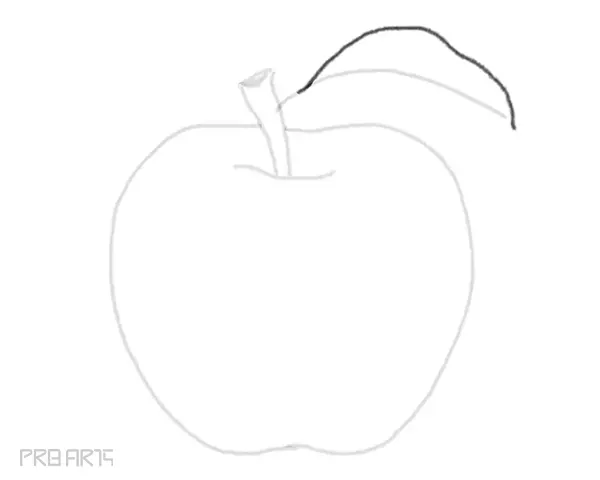
Step 7: Let’s add a leaf by drawing a semi curved line on the apple stem
Step 8: Draw the outer layer of the apple leaves like this, be organic no straight lines or perfect curved lines
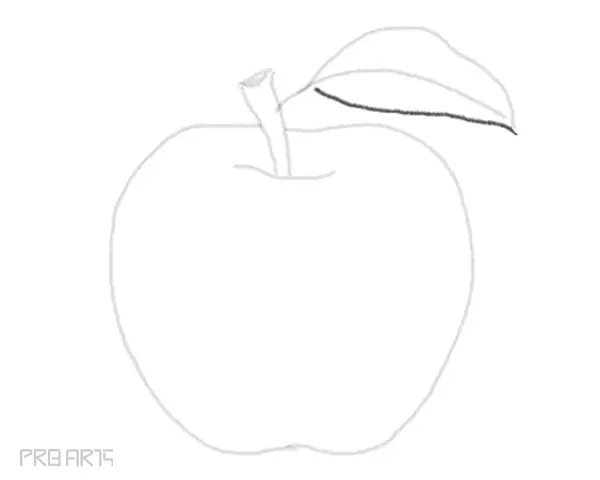
Step 9: Draw another side of the apple leaf
Congratulations! Have fun with coloring
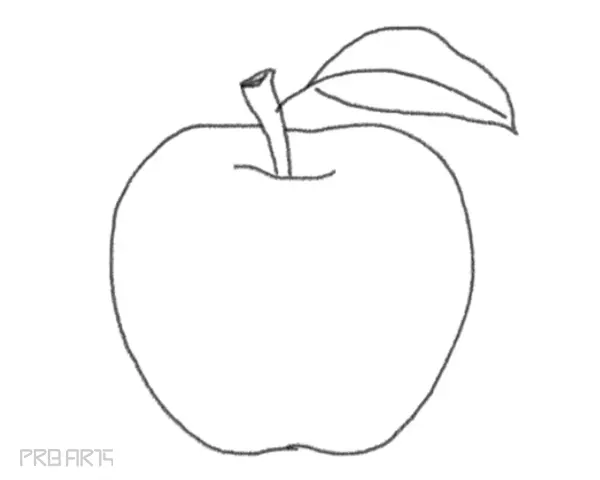
You have successfully drawn this image. You can also keep expressing your creativity for this drawing, and you can do this by adding some extra details and additions. Be sure to have fun and experiment with shading on it as you finish the picture!
There are plenty more guides like this one for you to enjoy on our website, with more on the way soon. You’ll want to keep checking in so that you never miss out!
I hope you like this tutorial. Let me know if you have any questions in the comments section below.